SKUs
A SKU is a product type that can include one or more types of an item. A Serialised SKU is the tracking of individual items using unique serial numbers. For a Non-serialised SKU however, there is no tracking number because the product is generic. E.g. wire and electrical tape.
For example, let's say you have a specific set of cables that are needed for a job. You can create a serialised SKU for the cables then, when someone needs this SKU, they can order it and collect it, possibly right away. Using Konnect HQ, you can manage the delivery and collection of SKU items using Inventory doors across the locker network.
- View Inventory Stock
- Create SKUs
- Create a Non-serialised SKU
- Manage SKUs
- Assign Inventory Package to SKU
- Assign SKU to a door
- Remove package from SKU
- Suspend SKUs
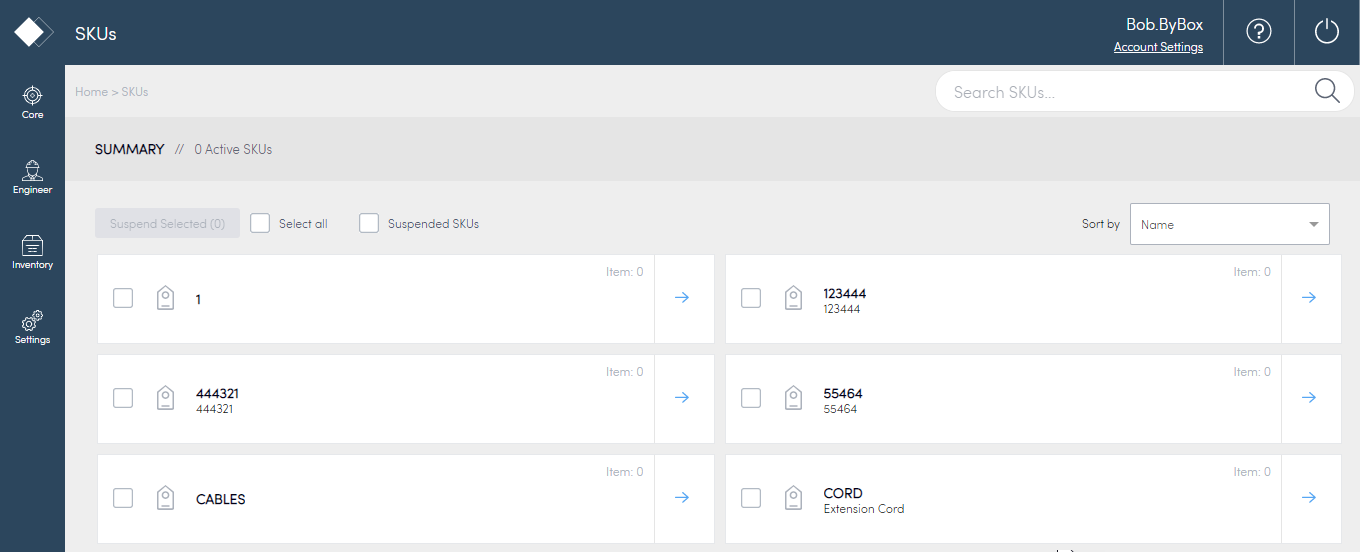
View Inventory stock
To view Inventory stock from Inventory > SKUs page:
- Select Inventory > SKUs.
- Select the blue arrow beside the SKU you want to view.
- General information appears about the SKU:
- Number of locations
- Number of doors
- Number of items
- Number of Issues
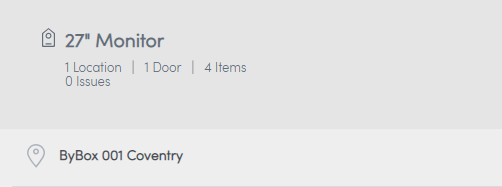
- Select the relevant Location.
- View further details about the stock in your doors.
Tab | Details |
Items | Lists the quantity of items in each of the doors. |
Inventory Orders | Lists details of the Inventory Orders. |
Issues | Lists errors or issues with the stock in doors. For example, the Konnect HQ list an error if you have an item that is not associated with a SKU but has been scanned into the door. |
To view Inventory stock from Core > Locations page:
- Select Core > Locations.
- Select the blue arrow beside the Location you want to view.
- View further details about the stock in your doors.
Create SKUs
You can create individual SKUs for each package or set of packages you want to be included in your Inventory.
To create a SKU:
- Select Inventory.
- Select SKUs.
- Select Create SKU.
Fill in the fields:
Field
Details
SKU name
Enter a name for the SKU.
Identifier
(Optional) Enter an Identifier.
Description
Enter the details about the packages in SKU
Packages
Select Add Packages to assign packages to the SKU.
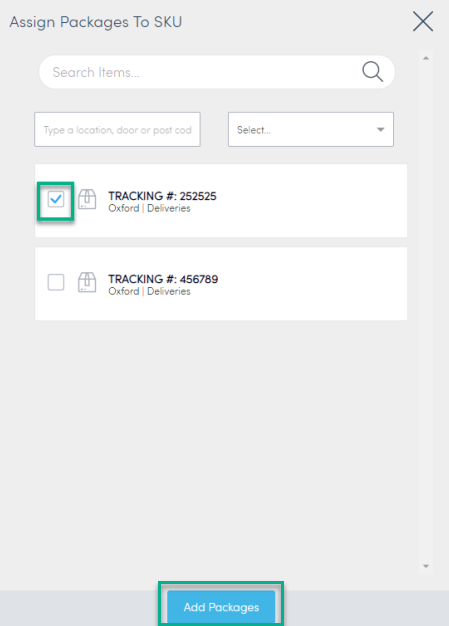
- Check the box beside the package or packages you want to add.
- Select Add Packages.
Note: If you don't have any packages to assign, you can leave this blank. - Select Create SKU.
The SKU now appears as an item in your SKU list.
Create a Non-serialised SKU
You can create a Non-serialised SKU within Konnect HQ in a similar way that you create a serialised SKU.
Before you begin
Make sure you have this feature enabled to create Non-serialised SKUs.
To create a Non-serialised SKU:
- Select Inventory > SKUs.
- Select Create SKU.
- Select Non-serialised SKU.
Note: You must select this option in order for the remaining screens to appear.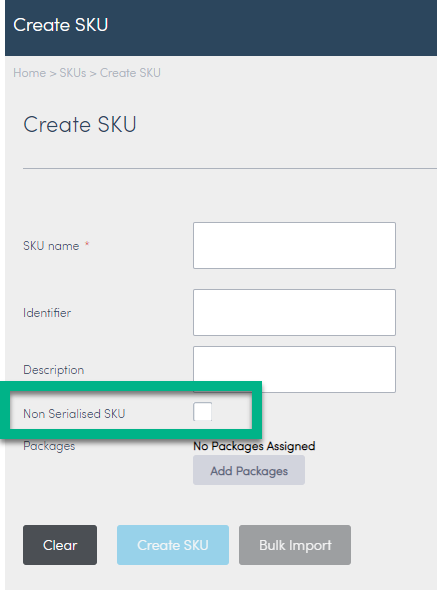
- The NSI SKU Identifier field appears.
Fill in the fields:
Field
Details
SKU name
Enter a name for the SKU.
Identifier
(Optional) Enter an Identifier.
Description
(Optional) Enter the details about the packages in SKU.
NSI SKU Identifier
Enter the appropriate barcode or identifier.
Note: Once set it cannot be changed.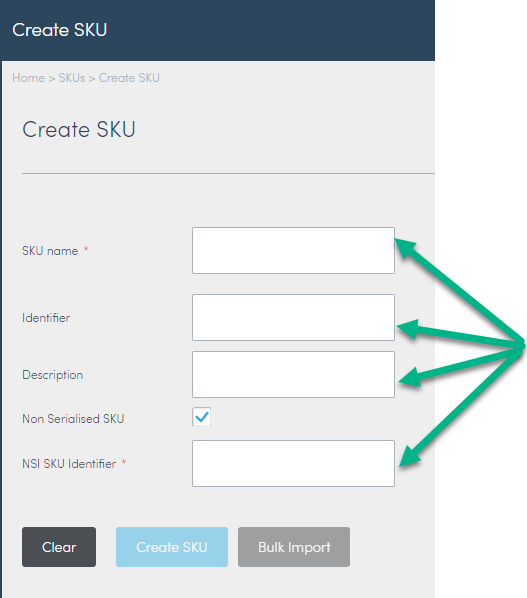
- Select Create SKU.
A confirmation notice appears: "The SKU is now added." - Go back to the SKU screen.
The SKU now appears as an item in your SKU list.
Manage SKUs
You can view or edit your SKUs in Konnect HQ.
To edit SKU details:
- Select Inventory.
- Select SKUs.
- Select the blue arrow beside the SKU you want to edit.
- Select Edit.
Update the following fields:
Field
Details
SKU name
Update the SKU name.
To make sure your SKU names are unique, you can refer to the table on the right-hand side of the screen. It gives a list of similar SKU names, how many packages are in the SKU and links directly to the SKU.Identifier
(Optional) Update or add an Identifier.
Description
Update or add a Description.
- Select Edit SKU.
An Updating Successful confirmation message appears at the top of the screen.
Assign Inventory Package to SKU
To add packages to a SKU.
- Select Inventory > SKUs.

- Select the blue arrow beside the SKU you want to edit.
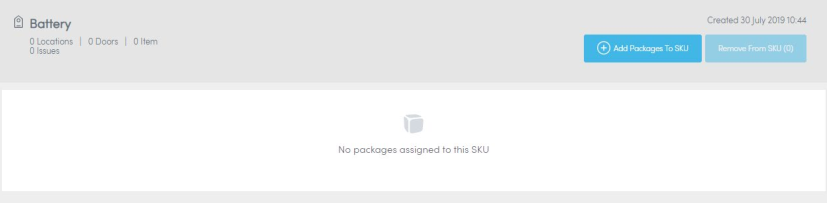
- Select Add Packages to SKU.
- Select the box beside the packages from the list you want to add to the SKU.
- Select Add Packages.
The newly assigned packages appear in the SKU.
Assign SKU to a door
A SKU must be assigned to a door to allow you to assign packages to a SKU. You can assign or unassign SKUs to a door from the door details page.
To assign a SKU to a door:
- Select Core > Locations.
- Select the blue arrow beside the appropriate door.
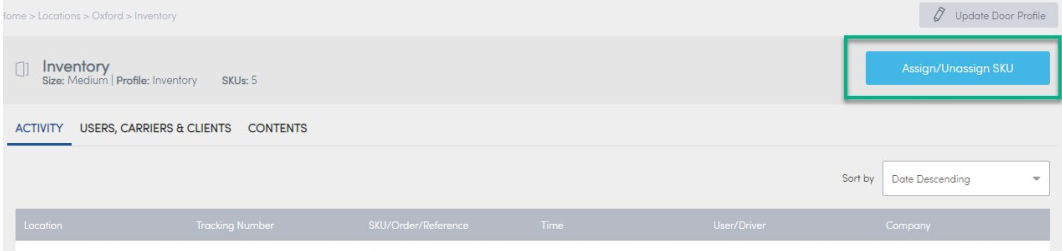
- From the door details, select Assign/Unassign SKU.
- Search for the SKU you want to assign.
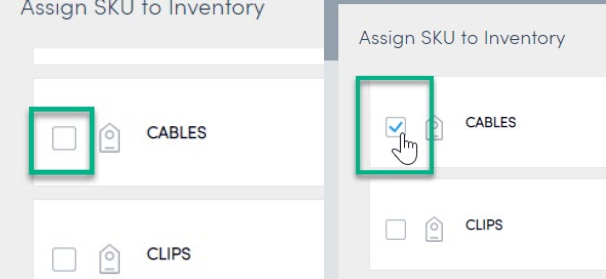
- Select the checkbox beside the SKU to add a blue checkmark.
- Select Set Assigned SKUs.
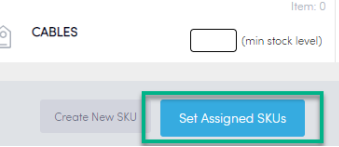
A new list of SKUs now appears in the door details. The SKU you add is now on the list.
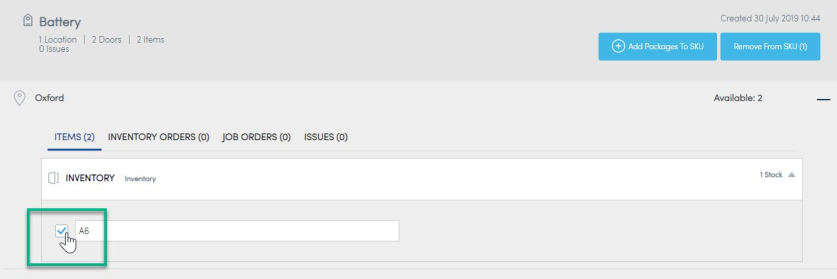
Remove package from SKU
You may need to remove a package from an existing SKU if you don't want it to be part of the SKU.
To remove a package from a SKU:
- Select Inventory > SKUs.
- Select the blue arrow beside the SKU you want to edit.

- Expand the SKU details using the "+" icon.
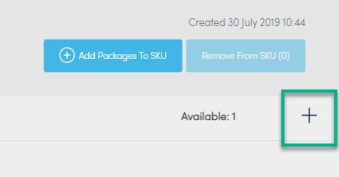
- Expand the list of stock in the ITEM tab.
- Select the package you want to remove.
- Select Remove from SKU.
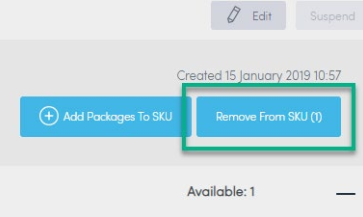
- Refresh the screen to see that the package no longer appears in the SKU list.
Suspend SKUs
You can suspend individual SKUs or suspend SKUs in bulk. You can only suspend SKUs that do not have any packages assigned or are assigned to a door.
To suspend a SKU:
- Select Inventory > SKUs.
- Select the SKU you want to suspend.
- Select Suspend.

The SKU is suspended and cannot be accessed by users.
To suspend multiple SKUs:
- Select Inventory > SKUs.
- Check the Select All box.
- Select Suspend Selected.
Note: The number of selected SKUs should appear on this button.
The selected SKUs are now suspended and cannot be accessed by users.
For information on Manually tracking out packages, see Locations.