Using OMS - Simple Search Mode on a Desktop
The ByBox Ordering Management System (OMS) - Simple Search Mode allows you to place and edit orders for your parts. You can log in as a field engineer who places order for yourself or a web user, who places orders on behalf of engineers.
Login to OMS
Before you begin, make sure:
- you have your account set up before you begin.
- you have a connection to the internet, either a mobile network or a Wi-Fi connection.
- you're using a supported browser:
- Microsoft Internet Explorer (current and one previous)
- Google Chrome (current and one previous)
- Go to the OMS link in a browser on a computer.
https://secure.bybox.com/OrderManagement/
Note: You can view this on a mobile device. For more information see Using OMS on a Mobile Device. - Login with your credentials.
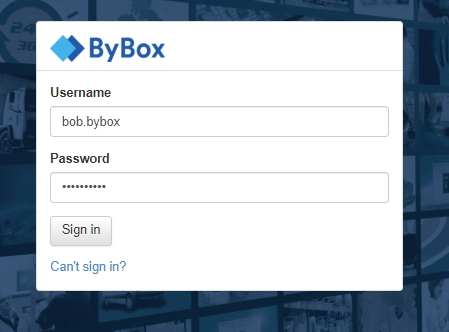
- To change your password, select Can't sign in? from the home screen.

Working with Orders
Create an order
There are two different types of orders you can create in OMS.
- Recipient order – assigned immediately to an engineer.
- Job order – assigned to an engineer later.
Note: These orders must be delivered to an iBox.
You can add details to the order before you decide if it needs to be assigned right away or if it can wait.
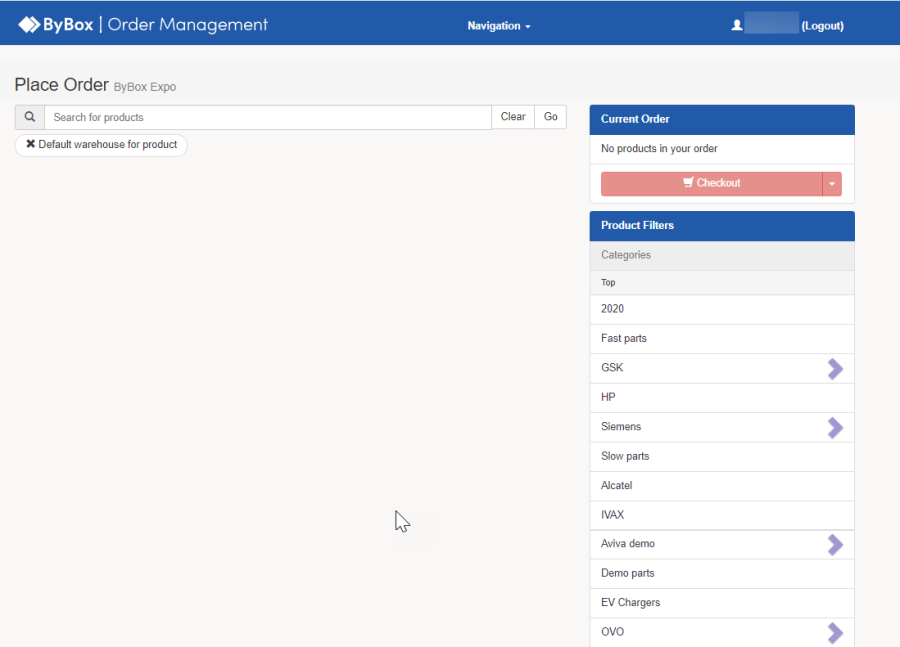
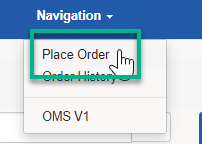
- Go to Navigation > Place Order.
- Search for items to add to your order.
- There are three different types of filters that can help you narrow down your options when creating an order:

- Product filters— Filter by category.
- Warehouses – Filter by warehouses.
- User specific – Filter by your favourites
- To add to an order set the appropriate filters.
- Select the relevant category for your part or type it into the search bar. Select Go.
Note: You can only search on the SKU and product name but NOT product description.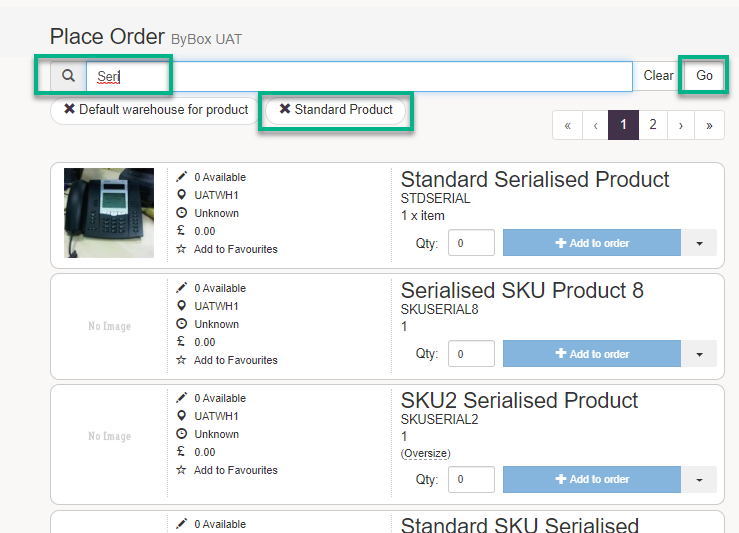
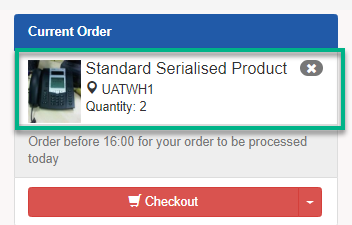
- Enter the quantity of the item and select Add to order.
Note: To change the quantity for the item, change the number in the field and select Update order.
- The item now appears in your basket.
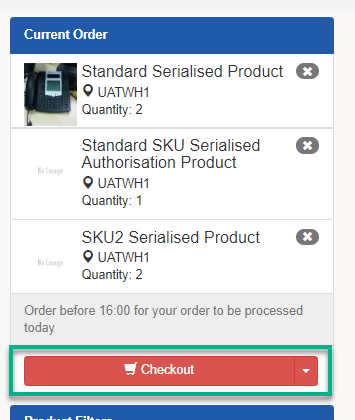
- Add all the relevant parts to the order.
Note: All parts added to the order must be coming from the same warehouse. If you have multiple parts from multiple warehouses, you need to create a separate order for each warehouse. - When ready, select Checkout. You can also Save for later if you plan to come back and add to the order.
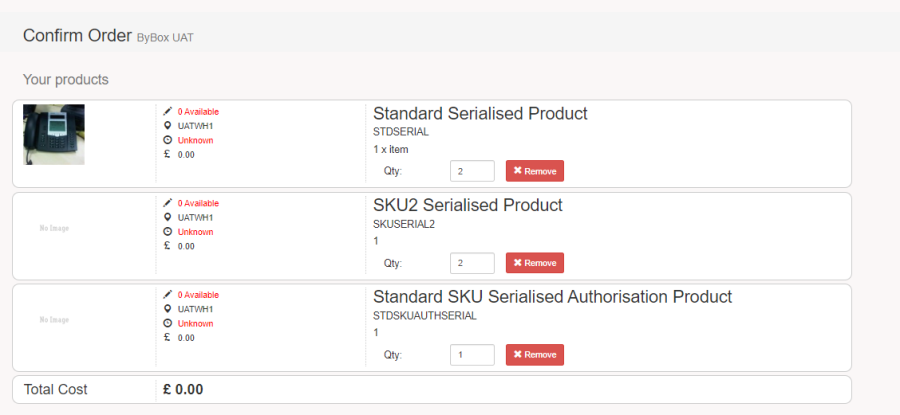
- Review the details on the Confirm Order screen.
- Choose the Destination.
For a Recipient Order, choose Select Engineer. Select Go to search for an engineer and assign the order.
For a Job Order, choose Job Based Order. Note: You can come back later to assign this order.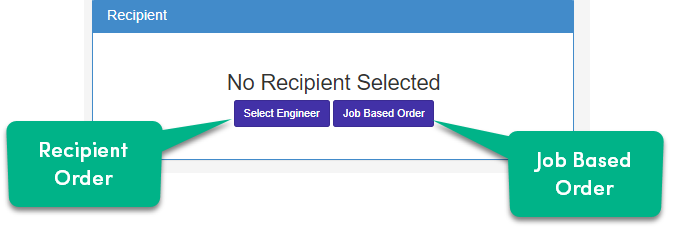
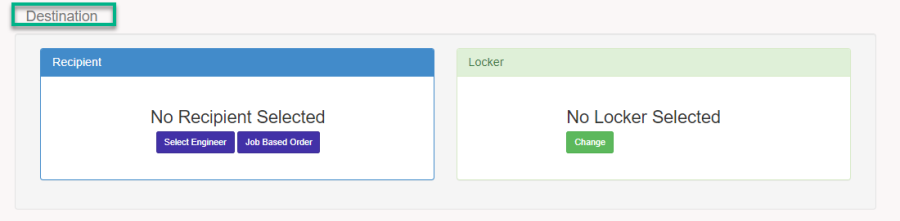
- If you choose Select Engineer, the Locker field is filled based on the locker assigned to the engineer.
Note: You can change the locker for the order, but you must choose from a list of iBoxes. Make sure you are set up to access iBoxes before you change the location for a delivery.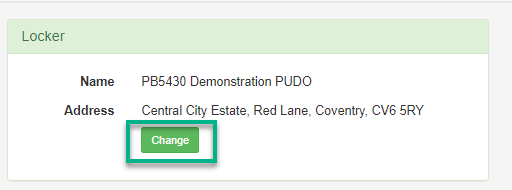

- Review or update date information.
Note: Dates are based on availability. You can also set a date into the future. Choose Select a different delivery date.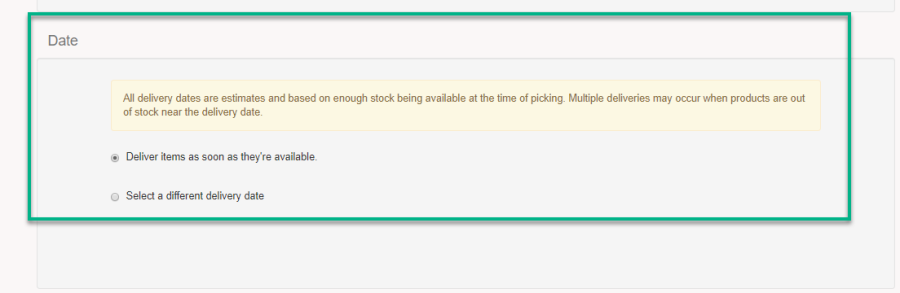
- Enter any relevant Order Information.
Note: If you are signed in as a field user, this information auto-populates.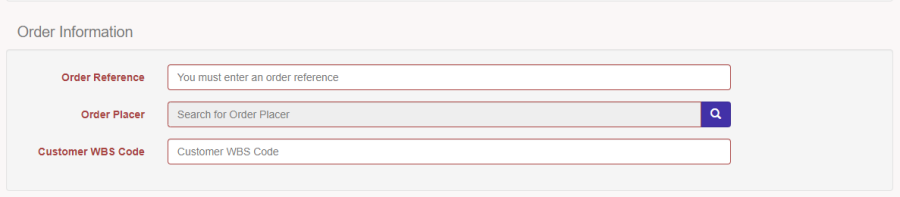
- Select Place.

Your order is now placed. You can edit, cancel or change the delivery date while the order is still in progress.
Making changes to orders
You can make changes to orders that are in progress. Orders are put into one of four categories:
- Unprocessed – orders that are is still in progress.
- Recent – most recent orders.
- Saved – orders that are saved but not processed.
- Unauthorised - product is flagged and needs approval.
View an existing order
You can view the details and status of an existing order.
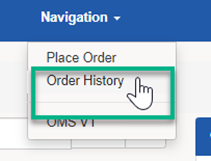
- Select Navigation > Order History

- Select any search filter to narrow your search:
- Unprocessed.
- Recent
- Saved
- Unauthorised

- Select Go.
A list of orders appears.
- Select the order you want to view more detail about.
Edit an order
You can edit any existing order that is not in progress.
To edit an order:
- Select Navigation > Order History.
- Type in order details to search select one of the filters to narrow your search:
- Unprocessed.
- Recent
- Saved
- Unauthorised

- Select Go.
A list of orders appears. - Find the order on screen and if possible, select Edit Order.
Note: You cannot edit an order that is already in progress.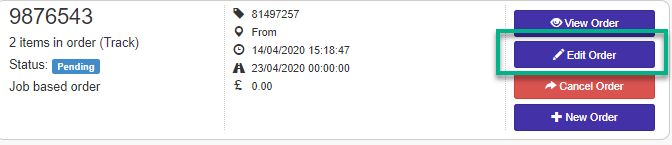
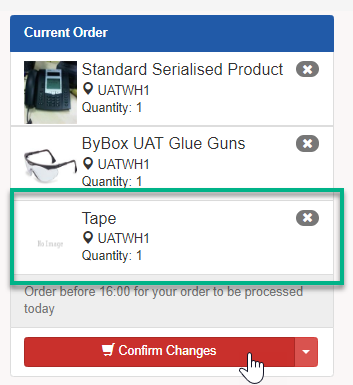
- Add any additional products to the order. Select Confirm Changes.
- Update any other details including destination, delivery date and order information.
Note: When you edit an order, the date defaults to next day. Make sure to check the delivery date BEFORE you continue.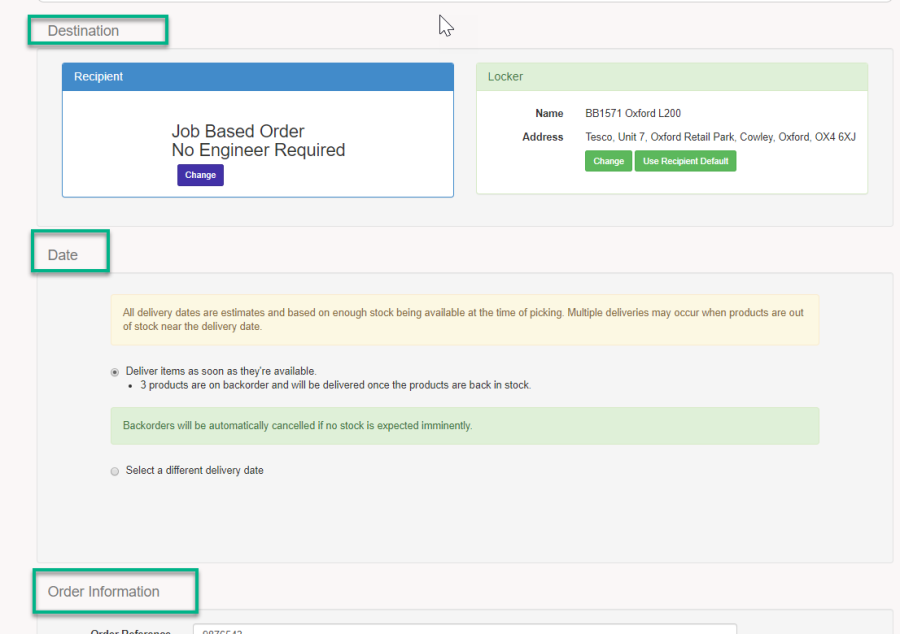
- Select Apply Changes.

Cancel an order
You can cancel any existing order that is not in progress.
To cancel an order:
- Select Navigation > Order History.
- Type in order details to search select one of the filters to narrow your search:
- Unprocessed
- Recent
- Saved
- Unauthorised
- Select Go.
A list of orders appears. - Find the order on screen and if possible, select Cancel Order.
Note: You cannot cancel an order that is already in progress
Change the delivery date
You can change the delivery date on existing order that is not in progress. To change the delivery date:
- Select Navigation > Order History.
- Type in order details to search select one of the filters to narrow your search:
- Unprocessed
- Recent
- Saved
- Unauthorised
- Select Go.
- Find the order on screen and if possible, select Edit Order.
Note: You cannot cancel an order that is already in progress. - Update the delivery date.
