Installing and Configuring ByBox Integration - Salesforce
Salesforce Field Service Lightning integrates with the ByBox applications to allow your users to work with ByBox products. ByBox provides a network of secure locations for delivery and collection of packages.
Before you begin
Make sure you have:
- Salesforce instance with Field Service package installed
- A ByBox Account created and provided with the API Key
Login
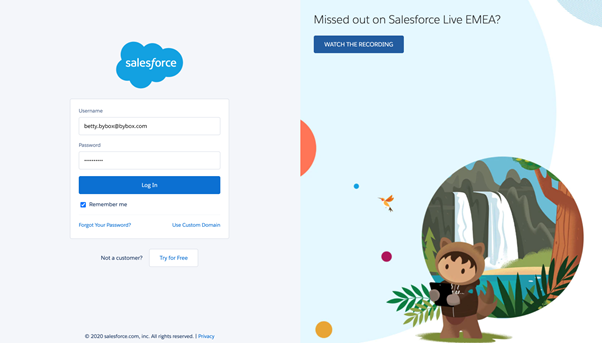
- Go to https://login.salesforce.com/ on your browser and login to Salesforce account with the given credentials.
Install ByBox Package
- On another browser tab, copy and paste the latest package link provided.
For example: https://login.salesforce.com/packaging/installPackage.apexp ...
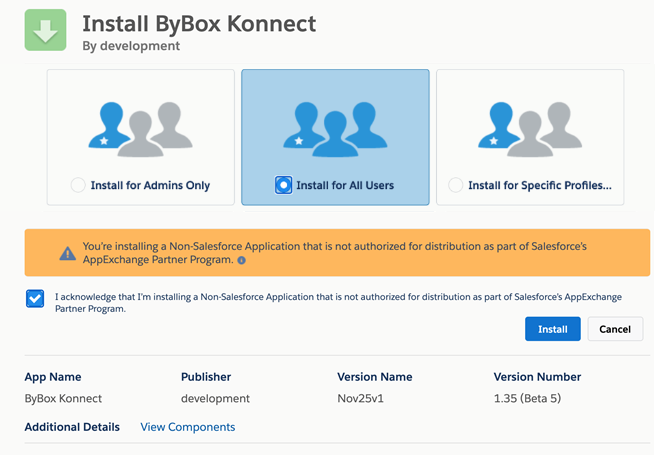
The Package link shows the necessary details required for set-up. - Depending on your organization requirement, select the appropriate user group for the installation.
For example: For development purposes, you can choose Install for All Users. - Leave other options as default and select Install.
- Select “Yes, grant access to these third-party web sites” and select Continue.
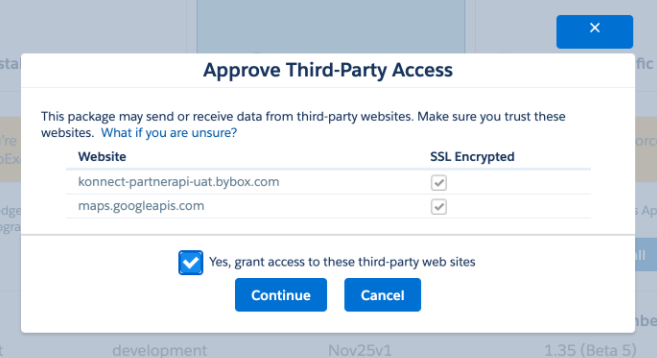
The package starts installing and an email notification is sent once the installation is completed.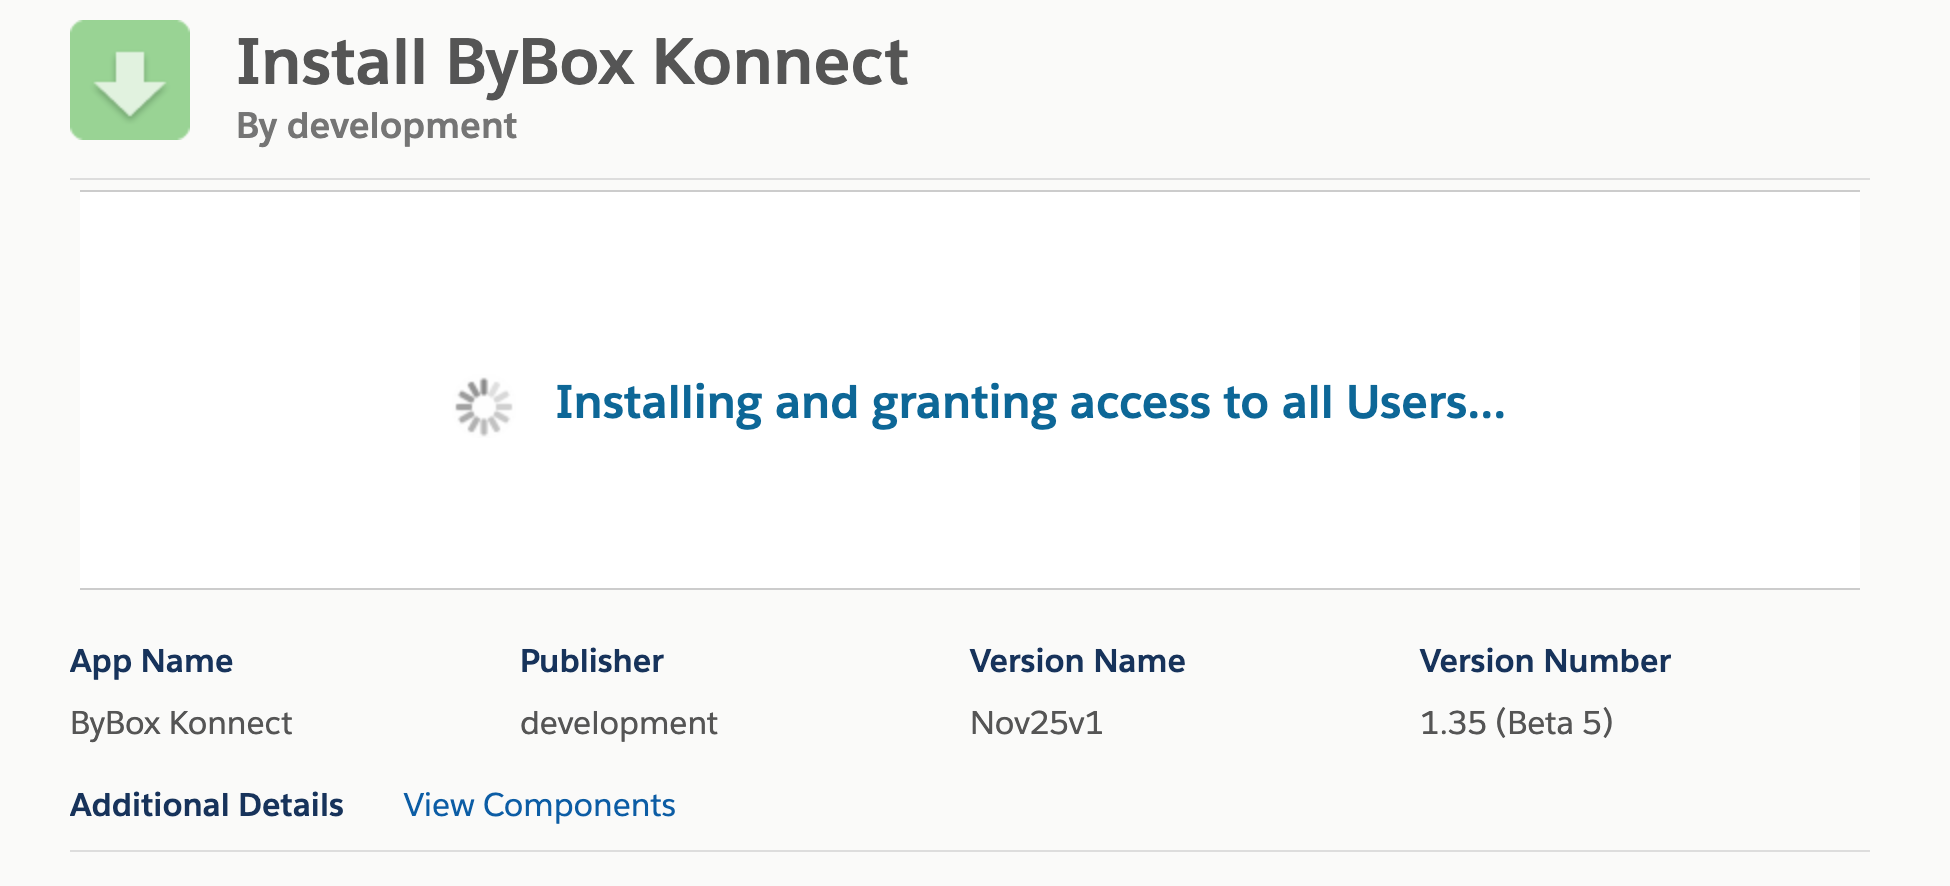
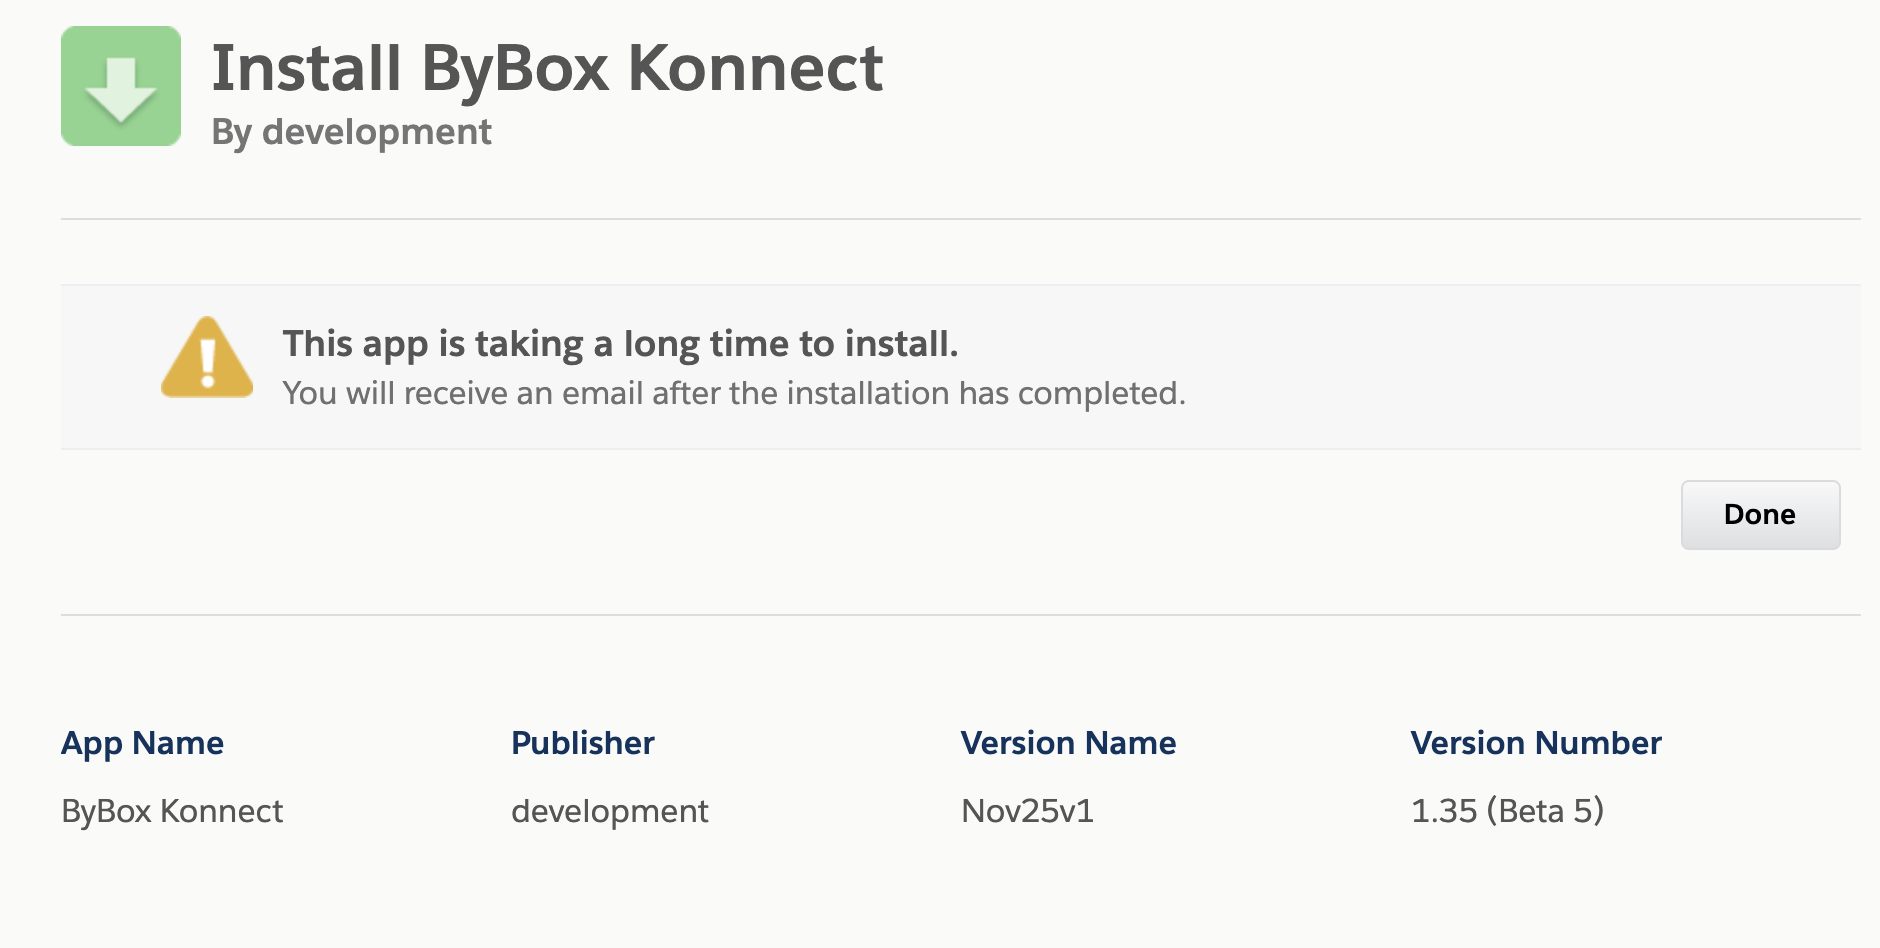
- If the app is taking longer to install, select Done and wait for the email notification.
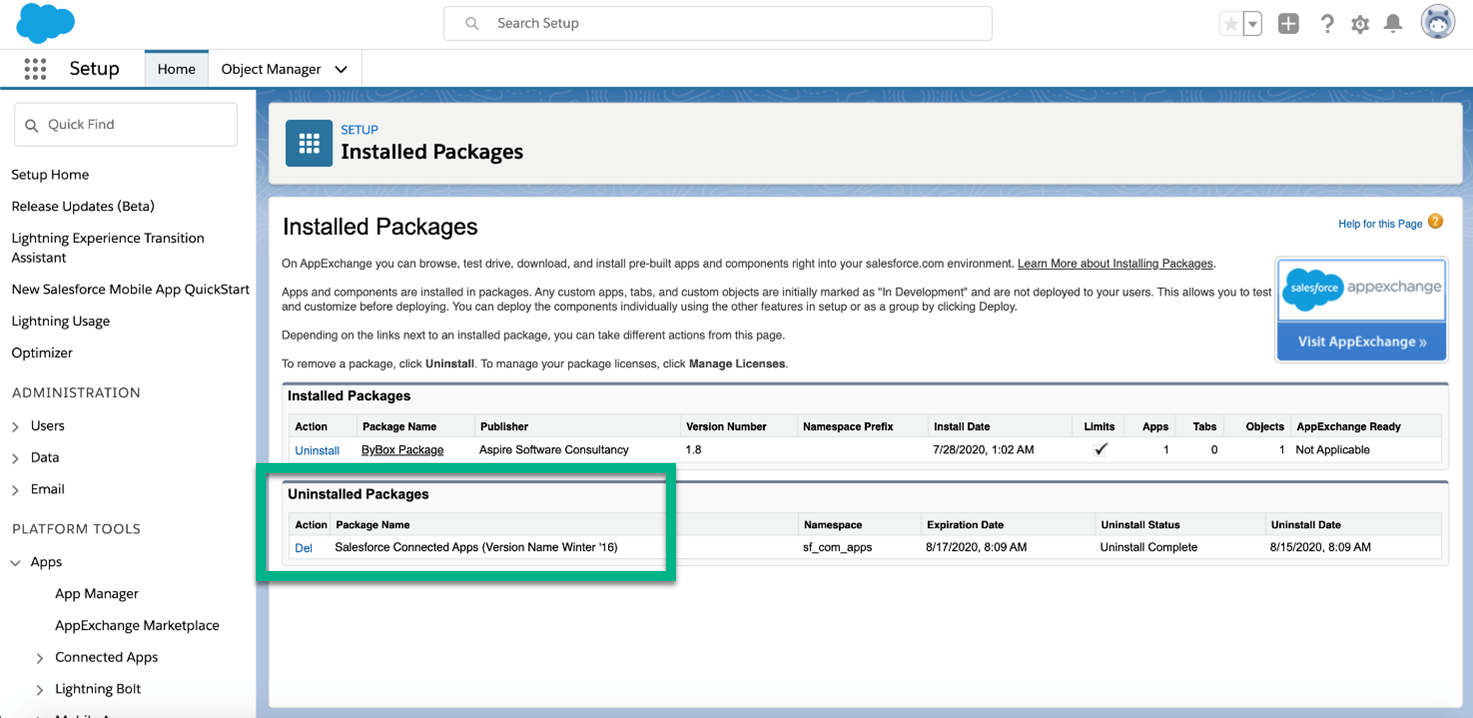
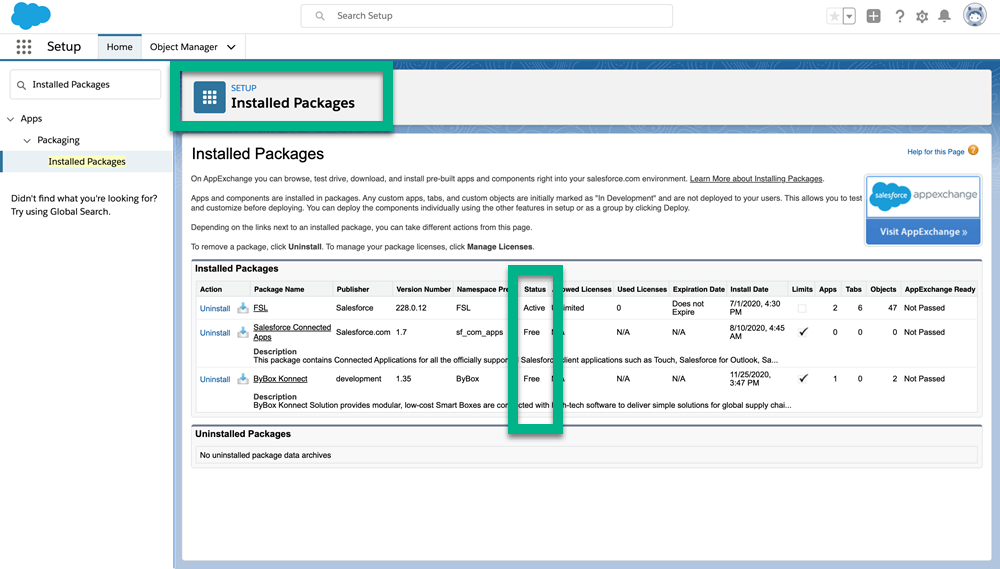
- View the installation status under Setup > Quick Find > Installed Packages.
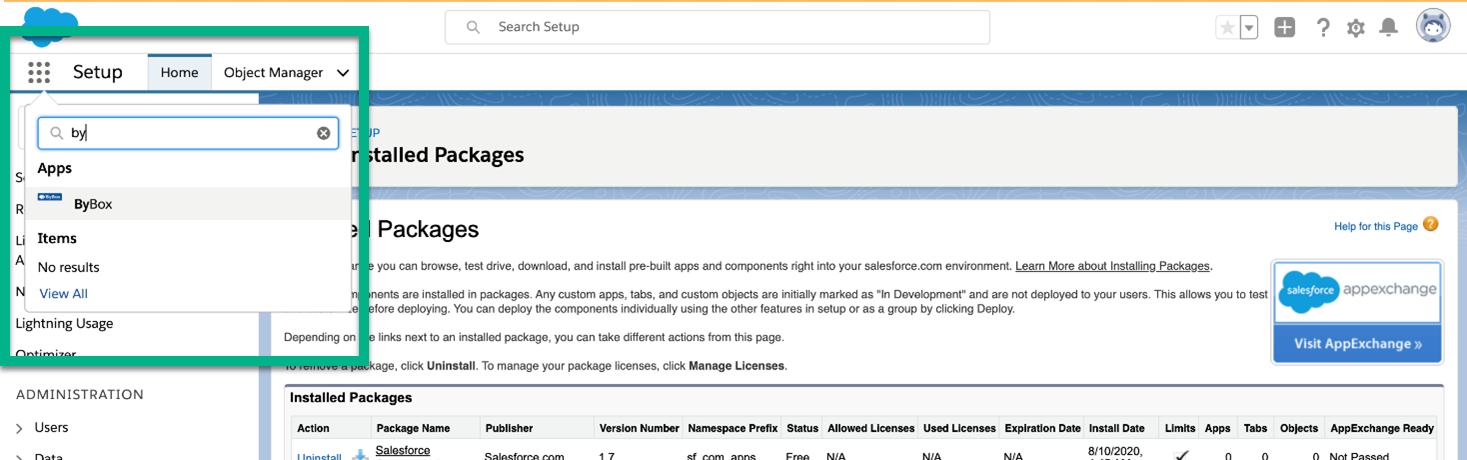
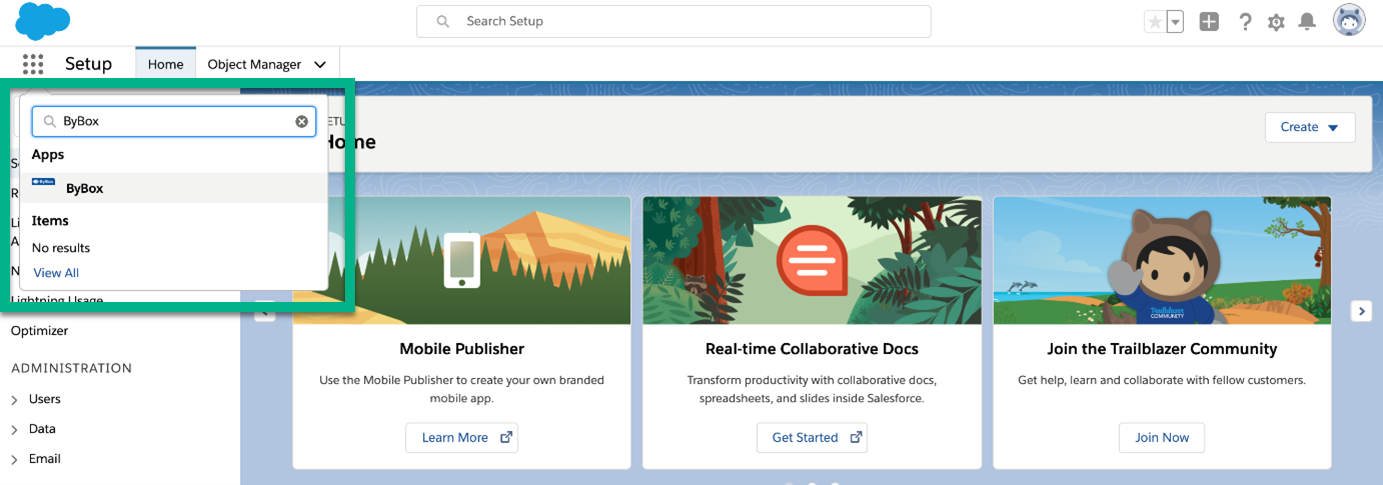
- Go to App Launcher and type the application name in the search box to verify if it has installed.
Configure ByBox
You need to configure your ByBox within Salesforce Field Service Lightning.
Custom Metadata Configuration
- Go to ByBox in the Quick Find and select it.
- Go to Settings and enter the data provided by ByBox for your account.
API EndPoint: https://konnect-partnerapi-uat.bybox.com/Api
Auth EndPoint: https://konnect-partnerapi-uat-bybox.com/Auth/core/connect/token
- Select Save to create ByBox Settings.
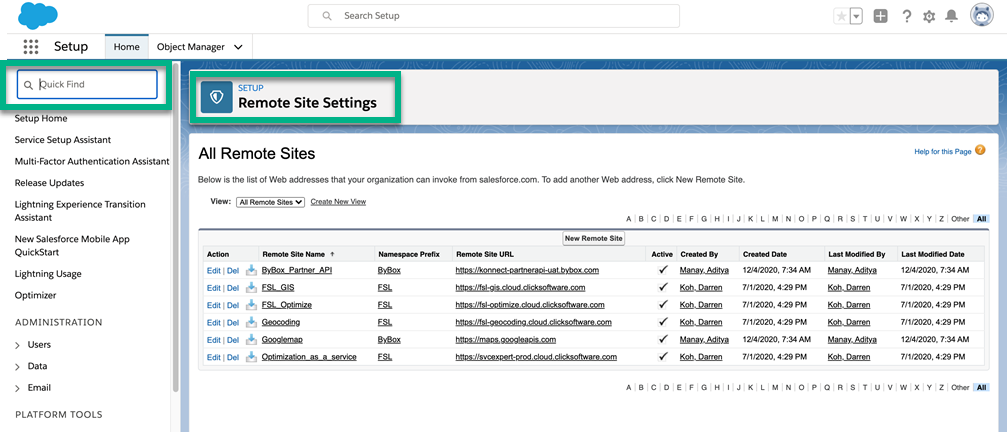
Remote Site Settings Configuration
- Search for Remote Site Settings in Quick Find and select it.
- Verify the the ByBox_Partner_API URL, should be https://konnect-partnerapi-uat.bybox.com .
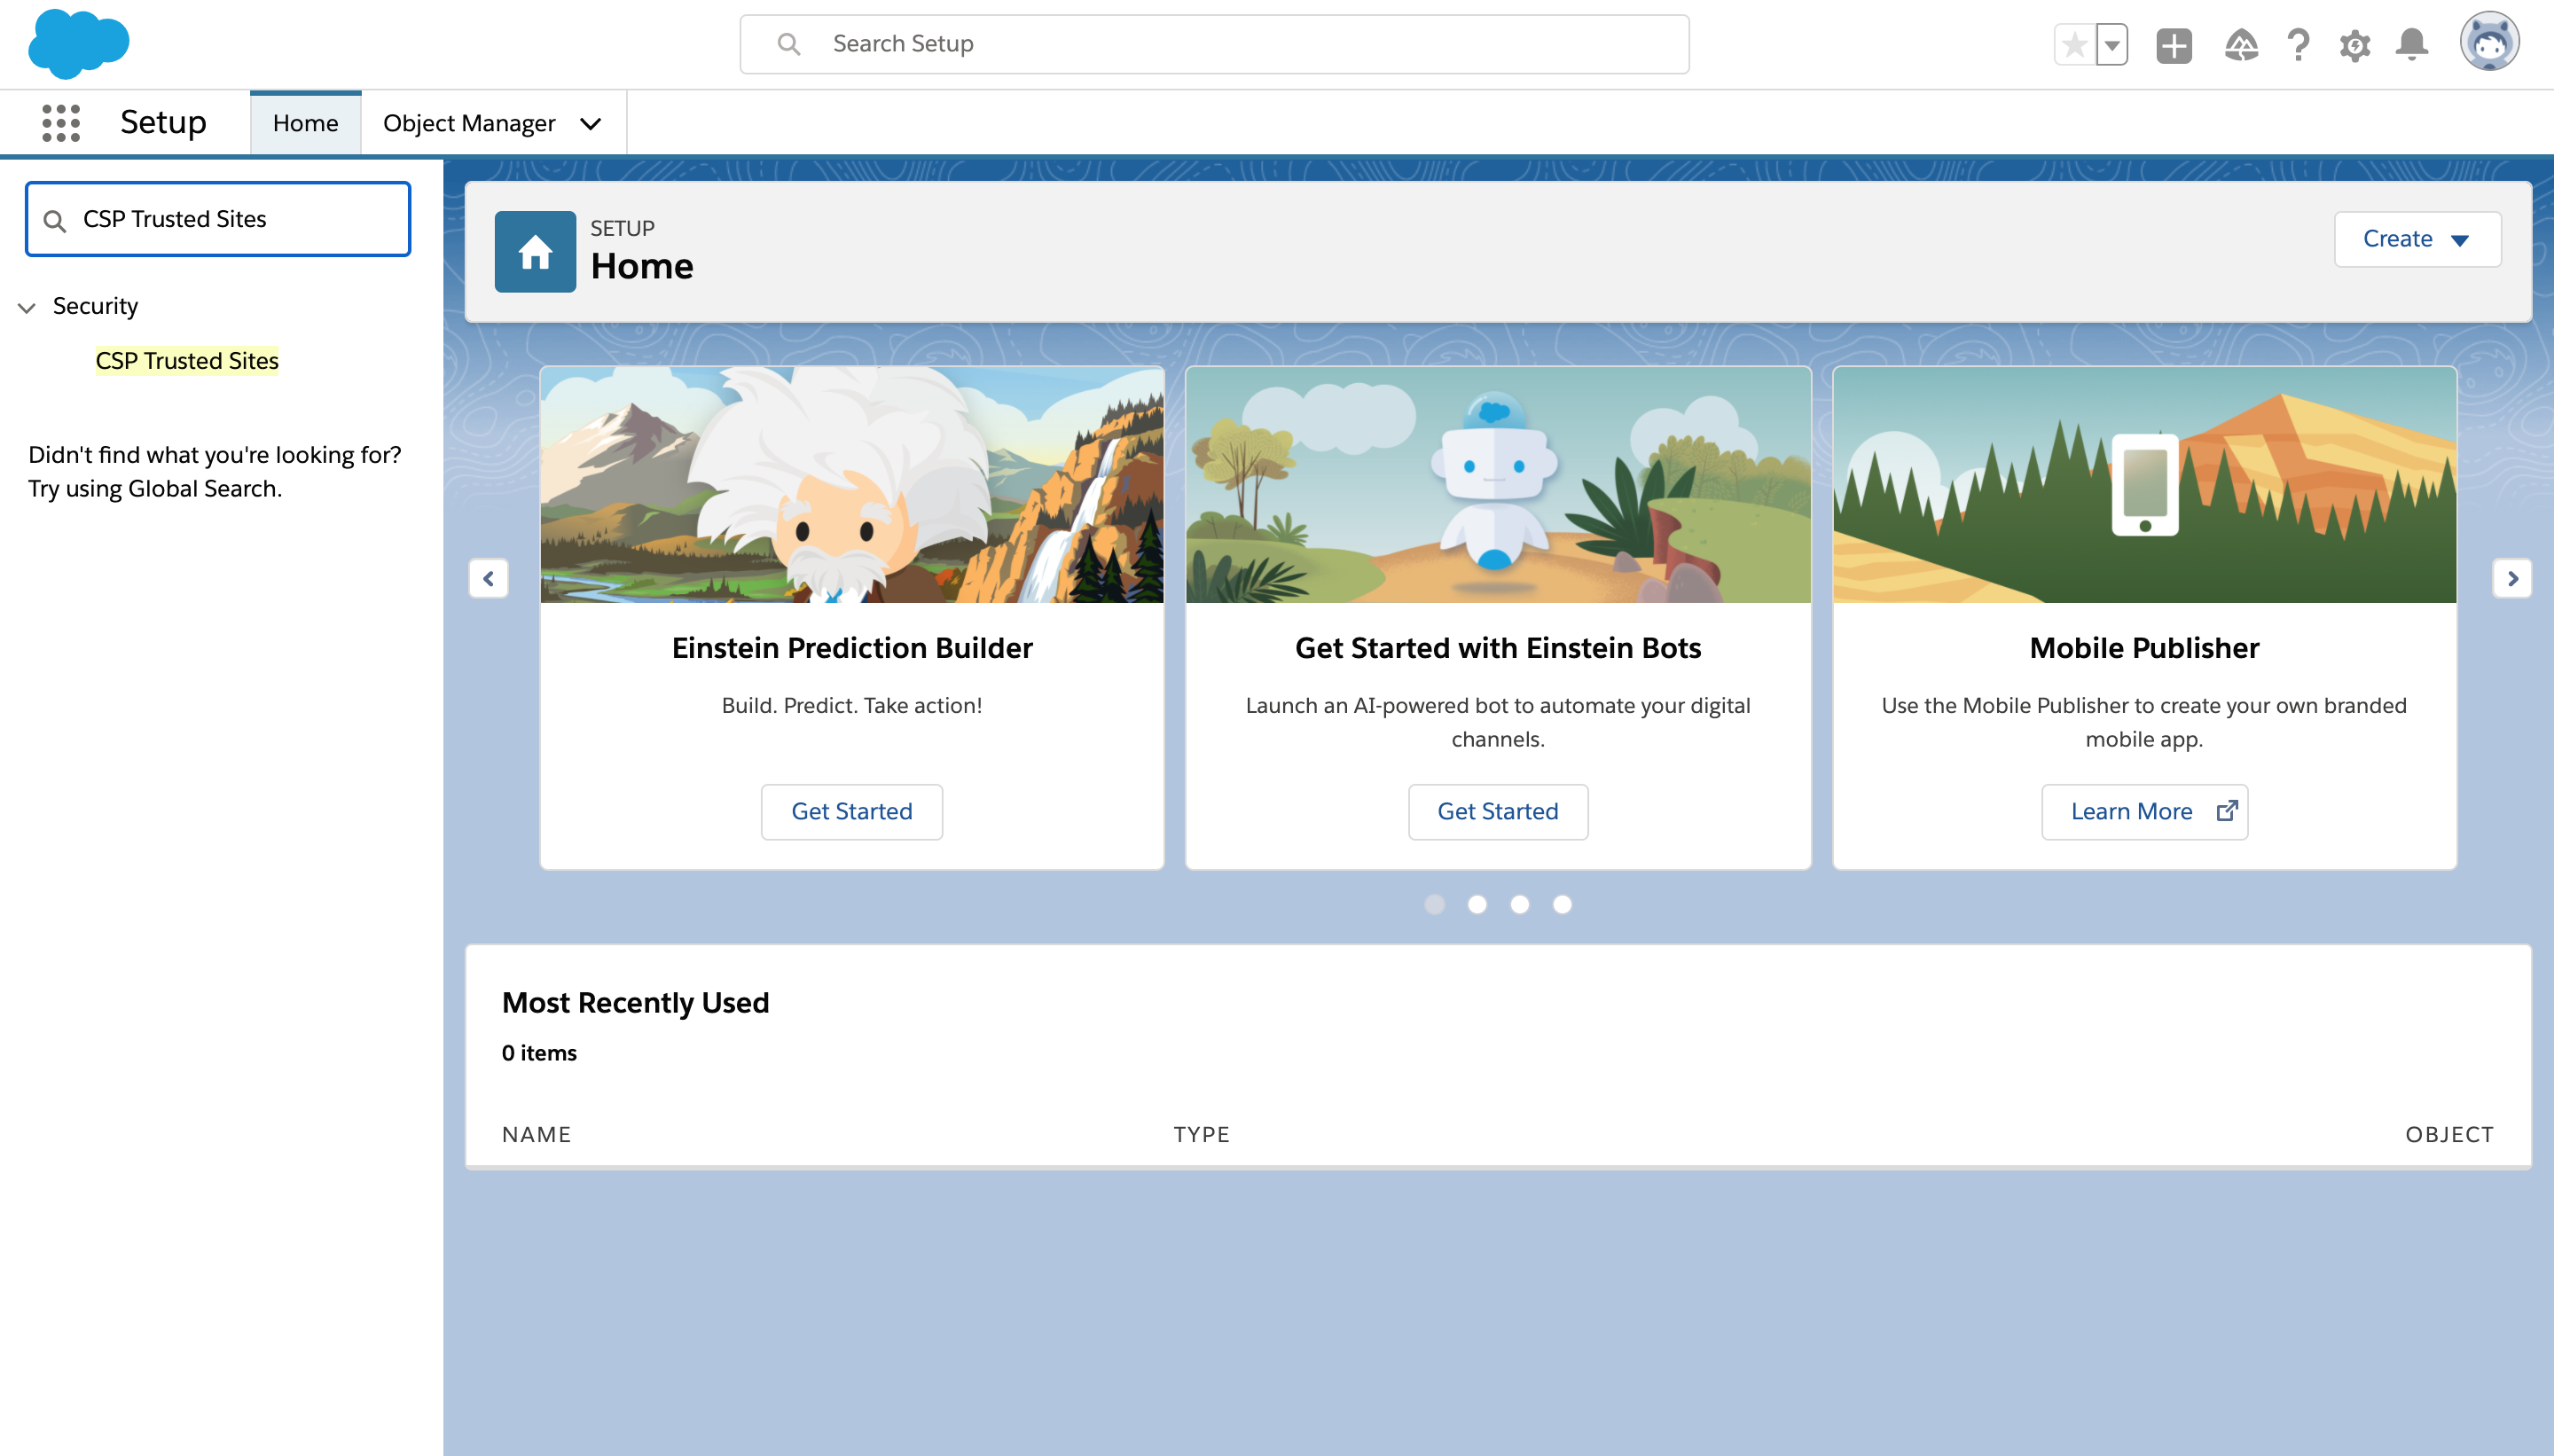
Configure Konnect Web
- Search for CSP Trusted Sites in Quick Find and select it.
- Click on New Trusted Site.
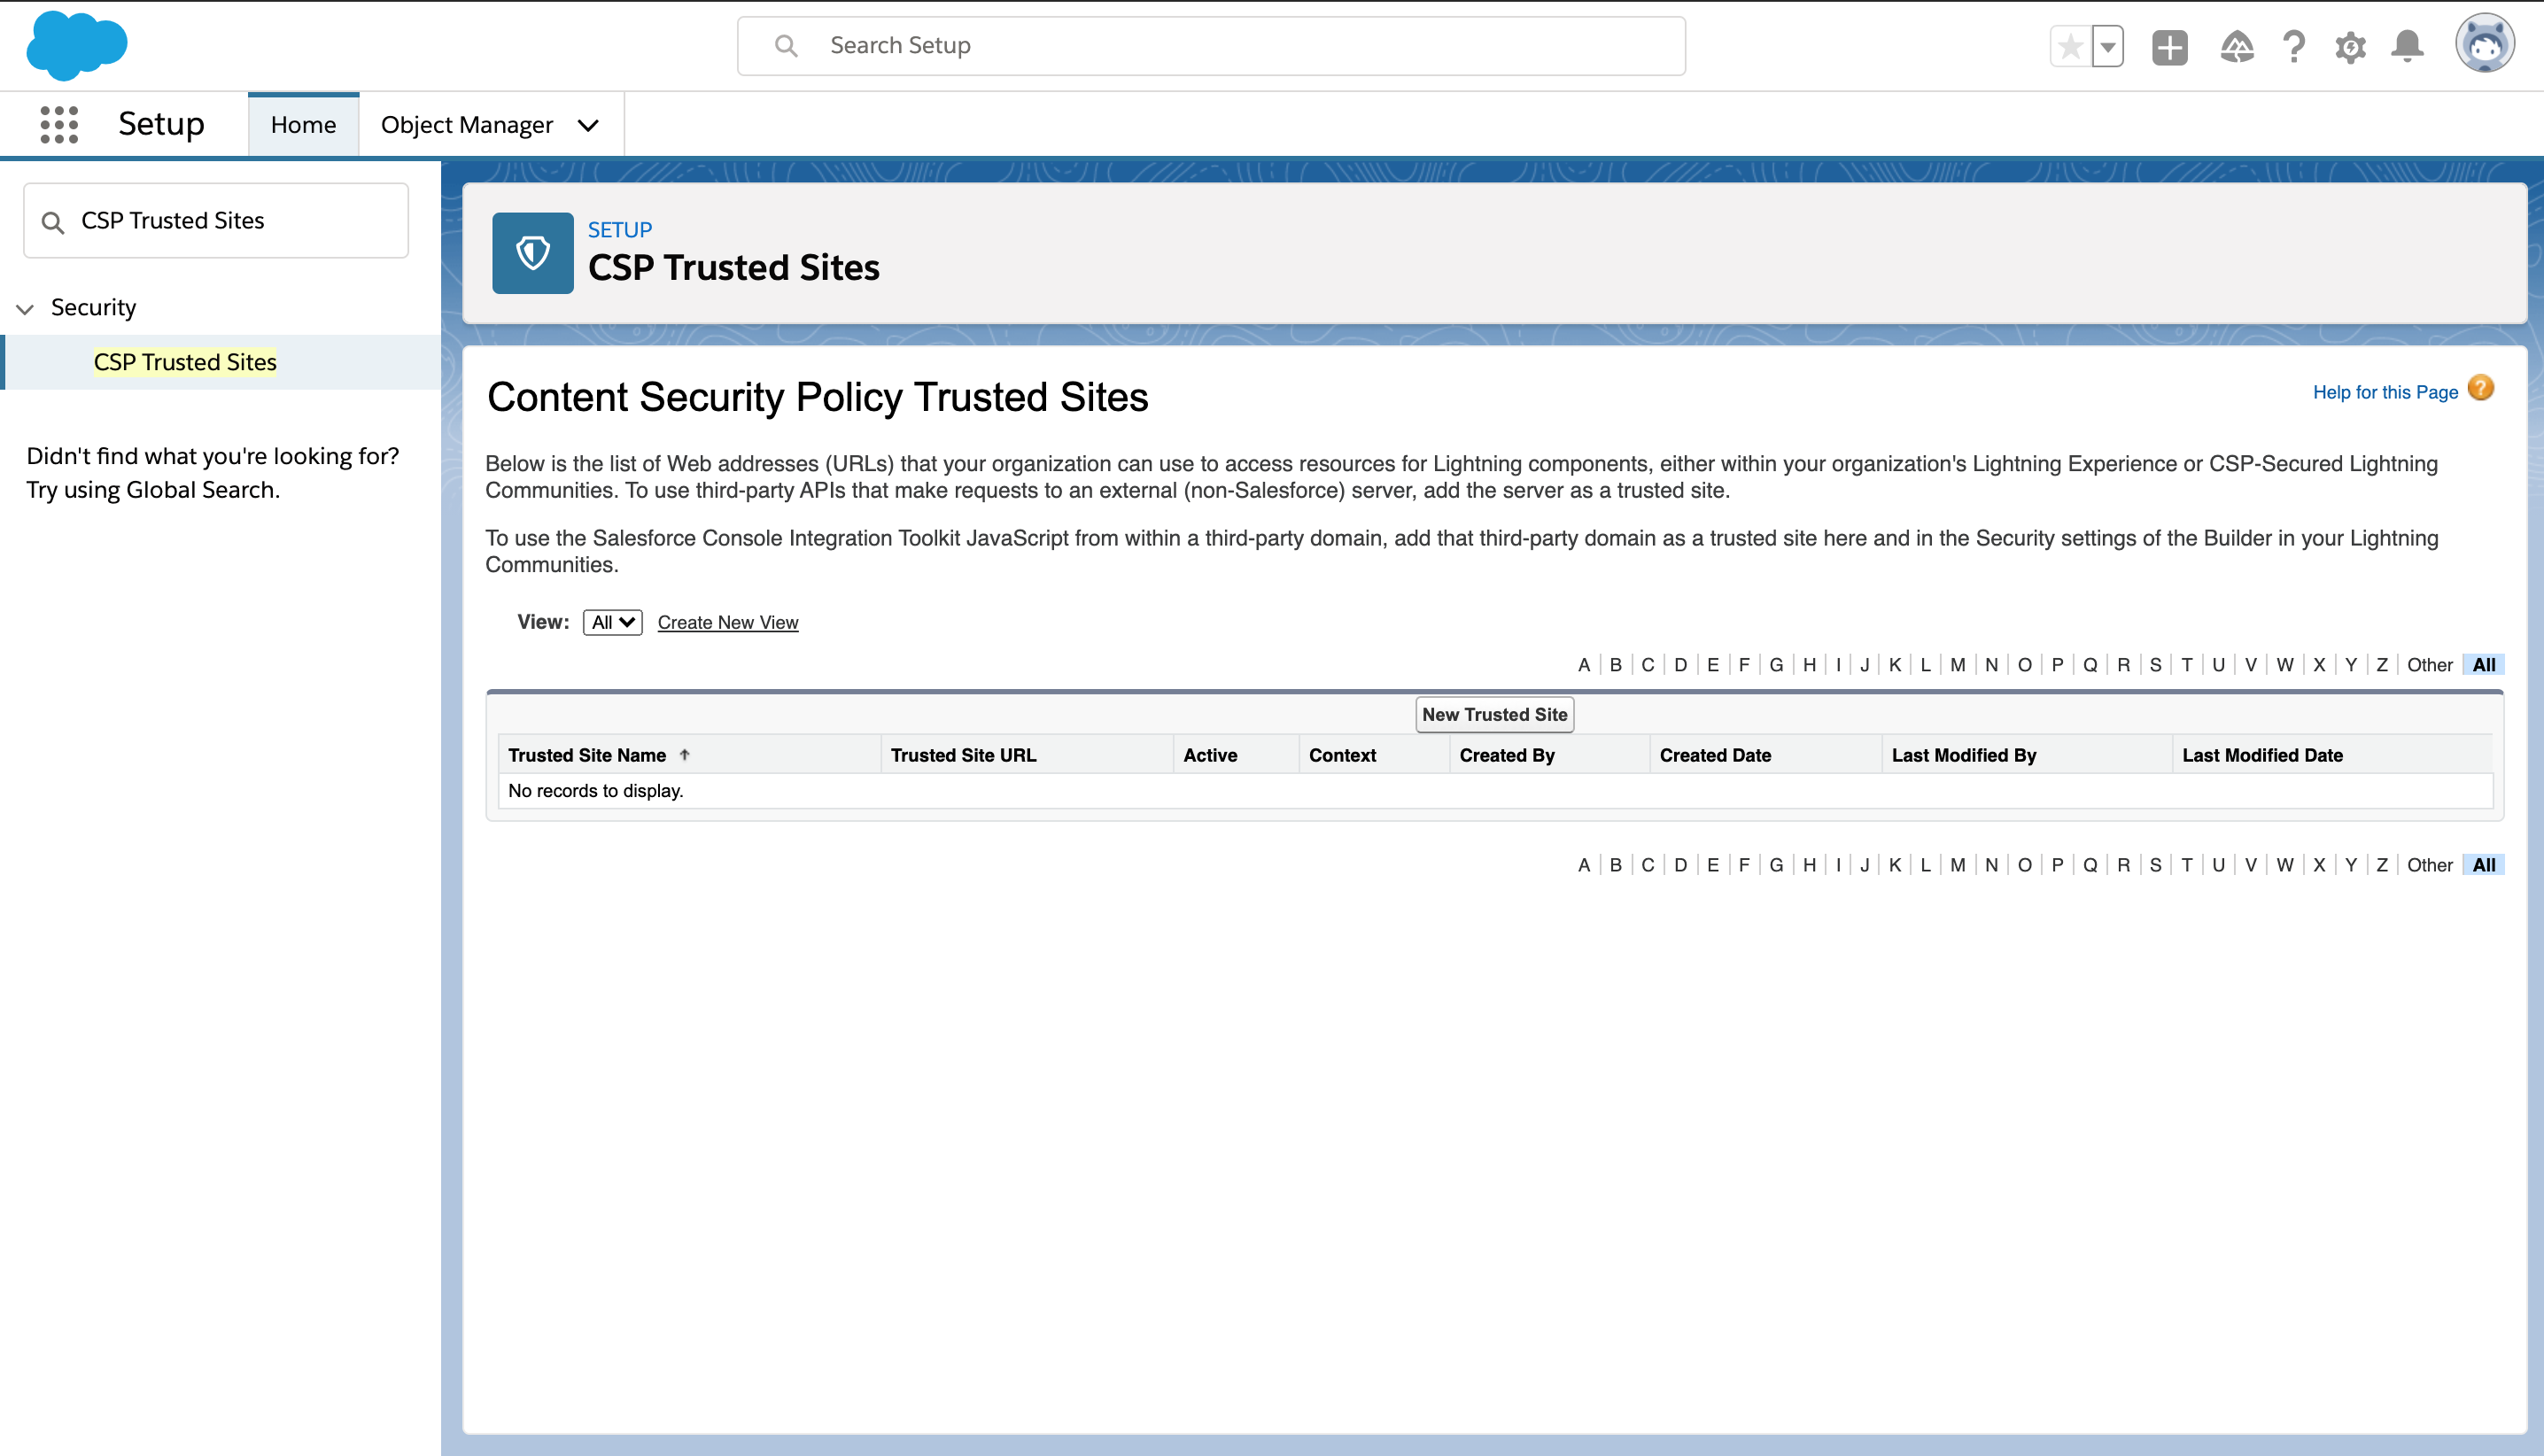
- Enter the following details and click Save.
Trusted Site Name: KonnecUATWeb
Trusted Site URL: https://uat.bybox.com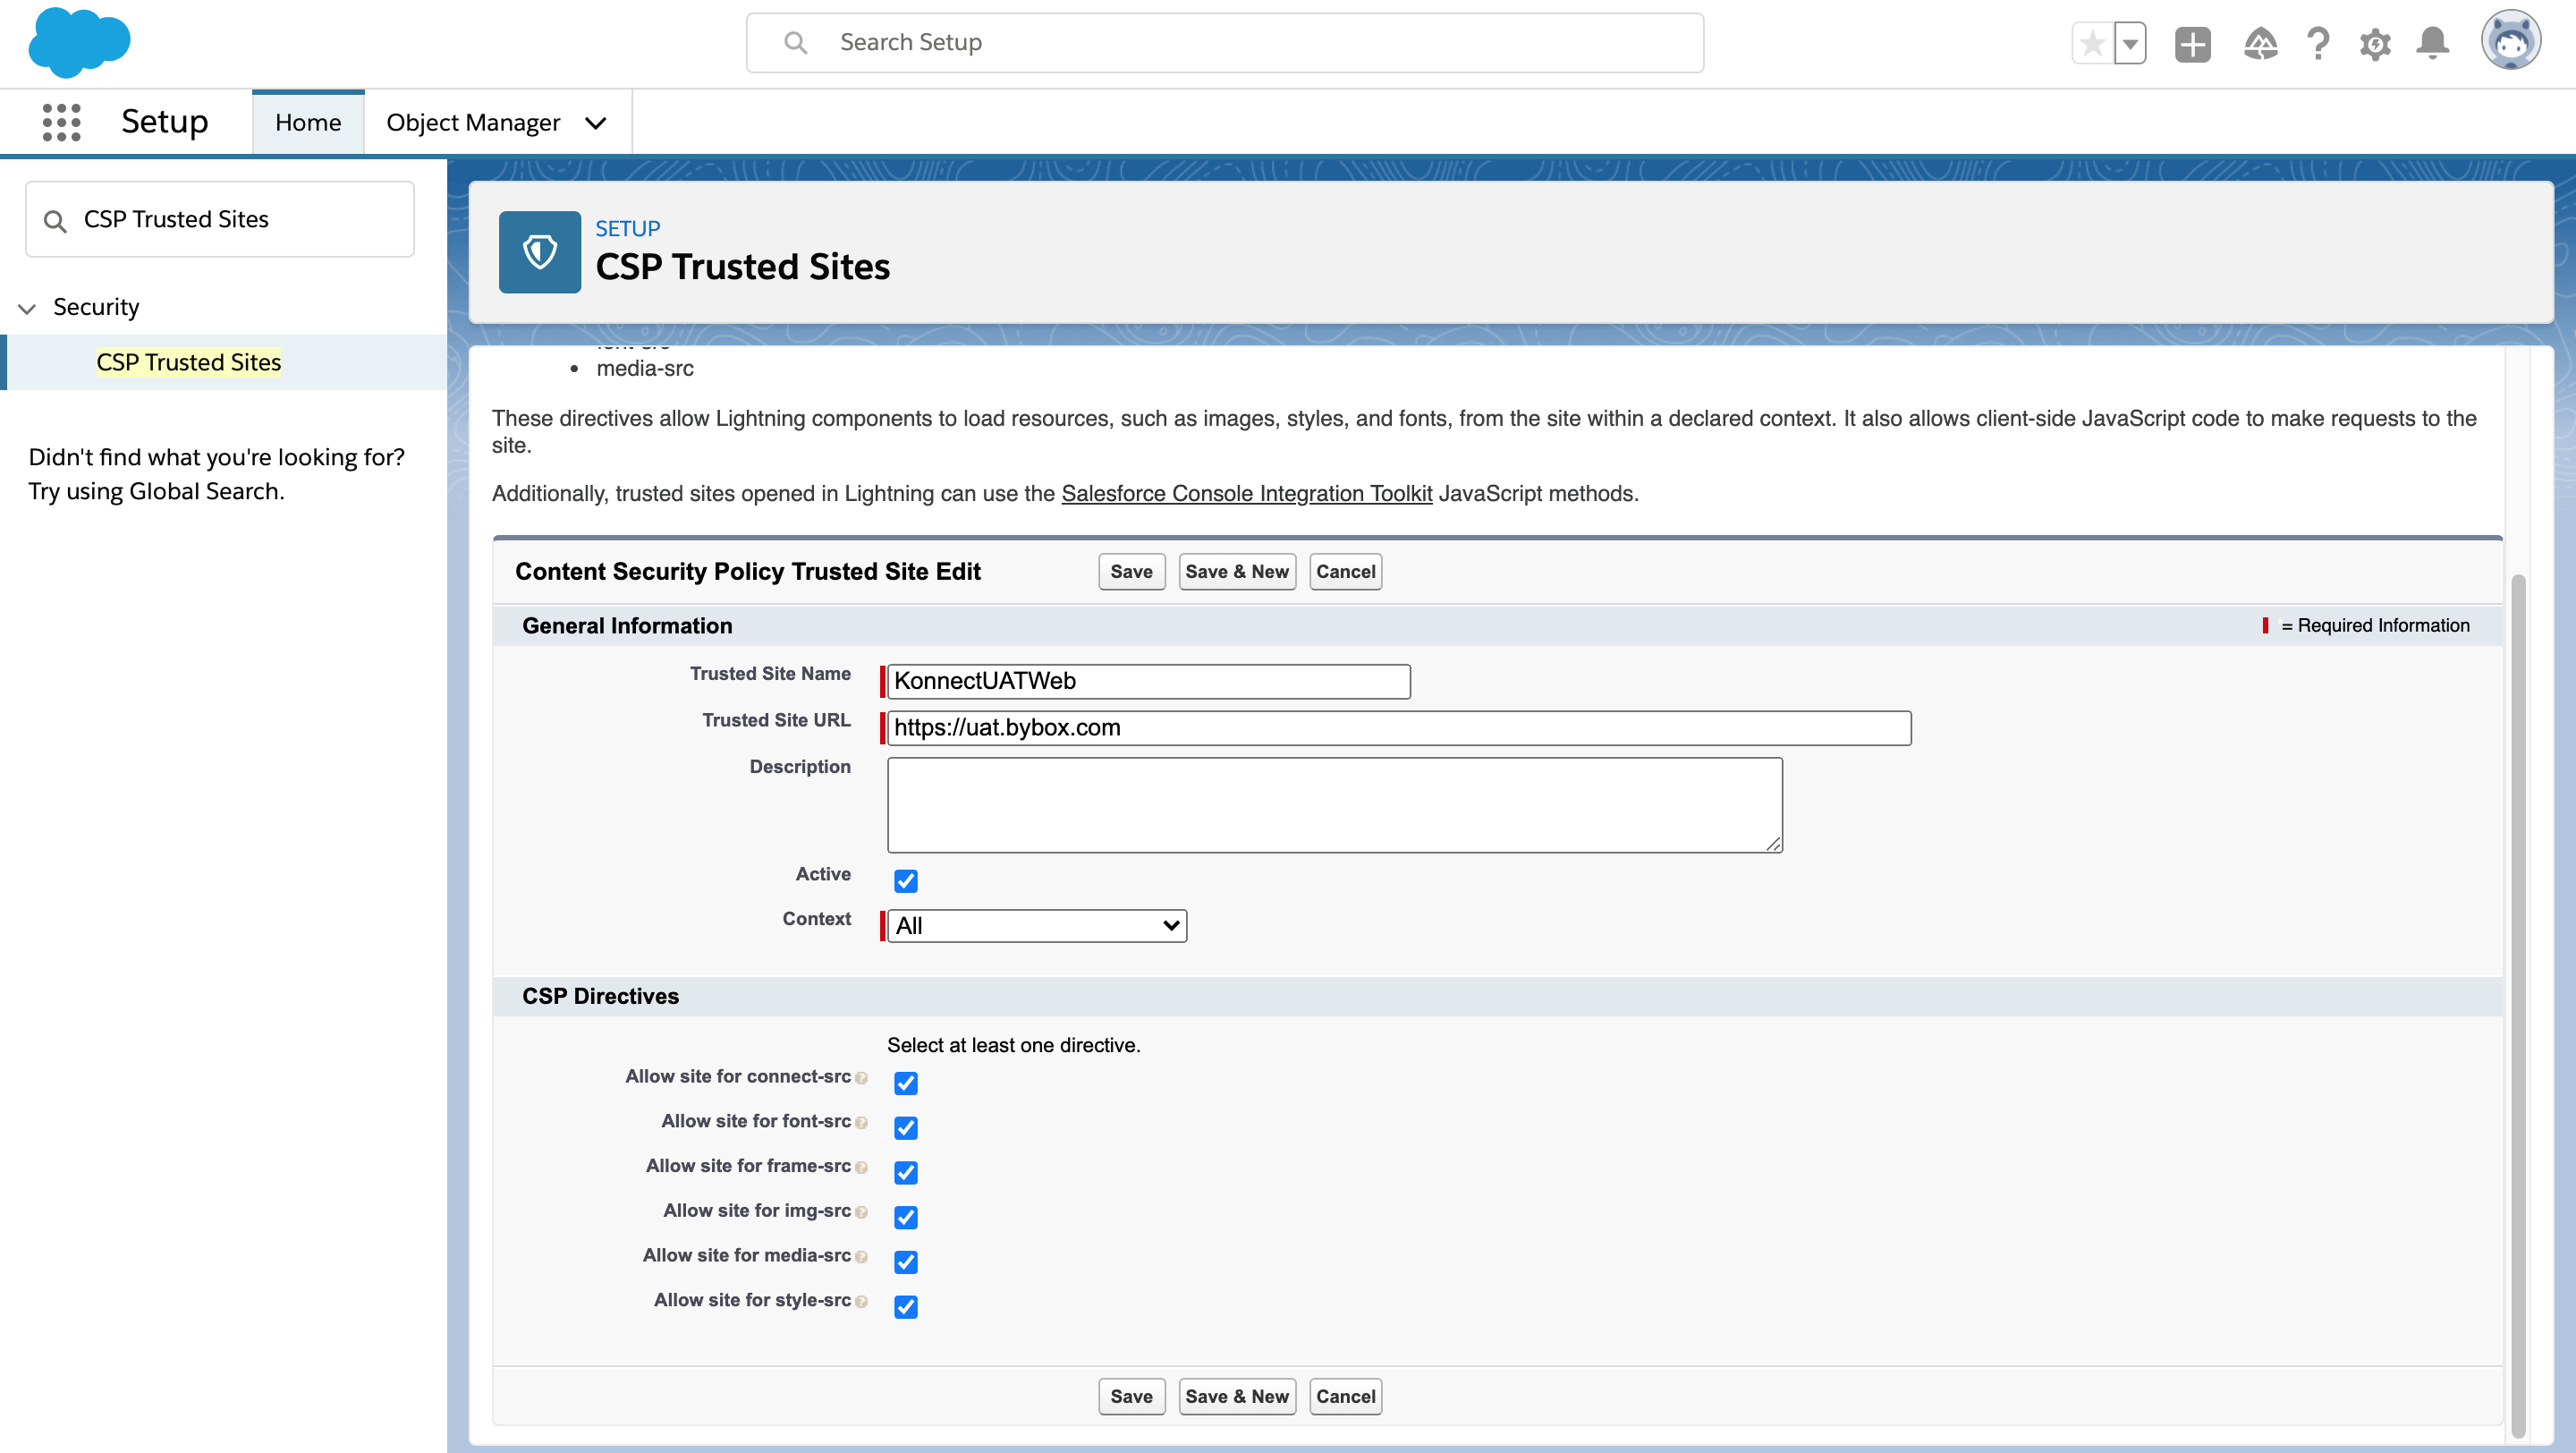
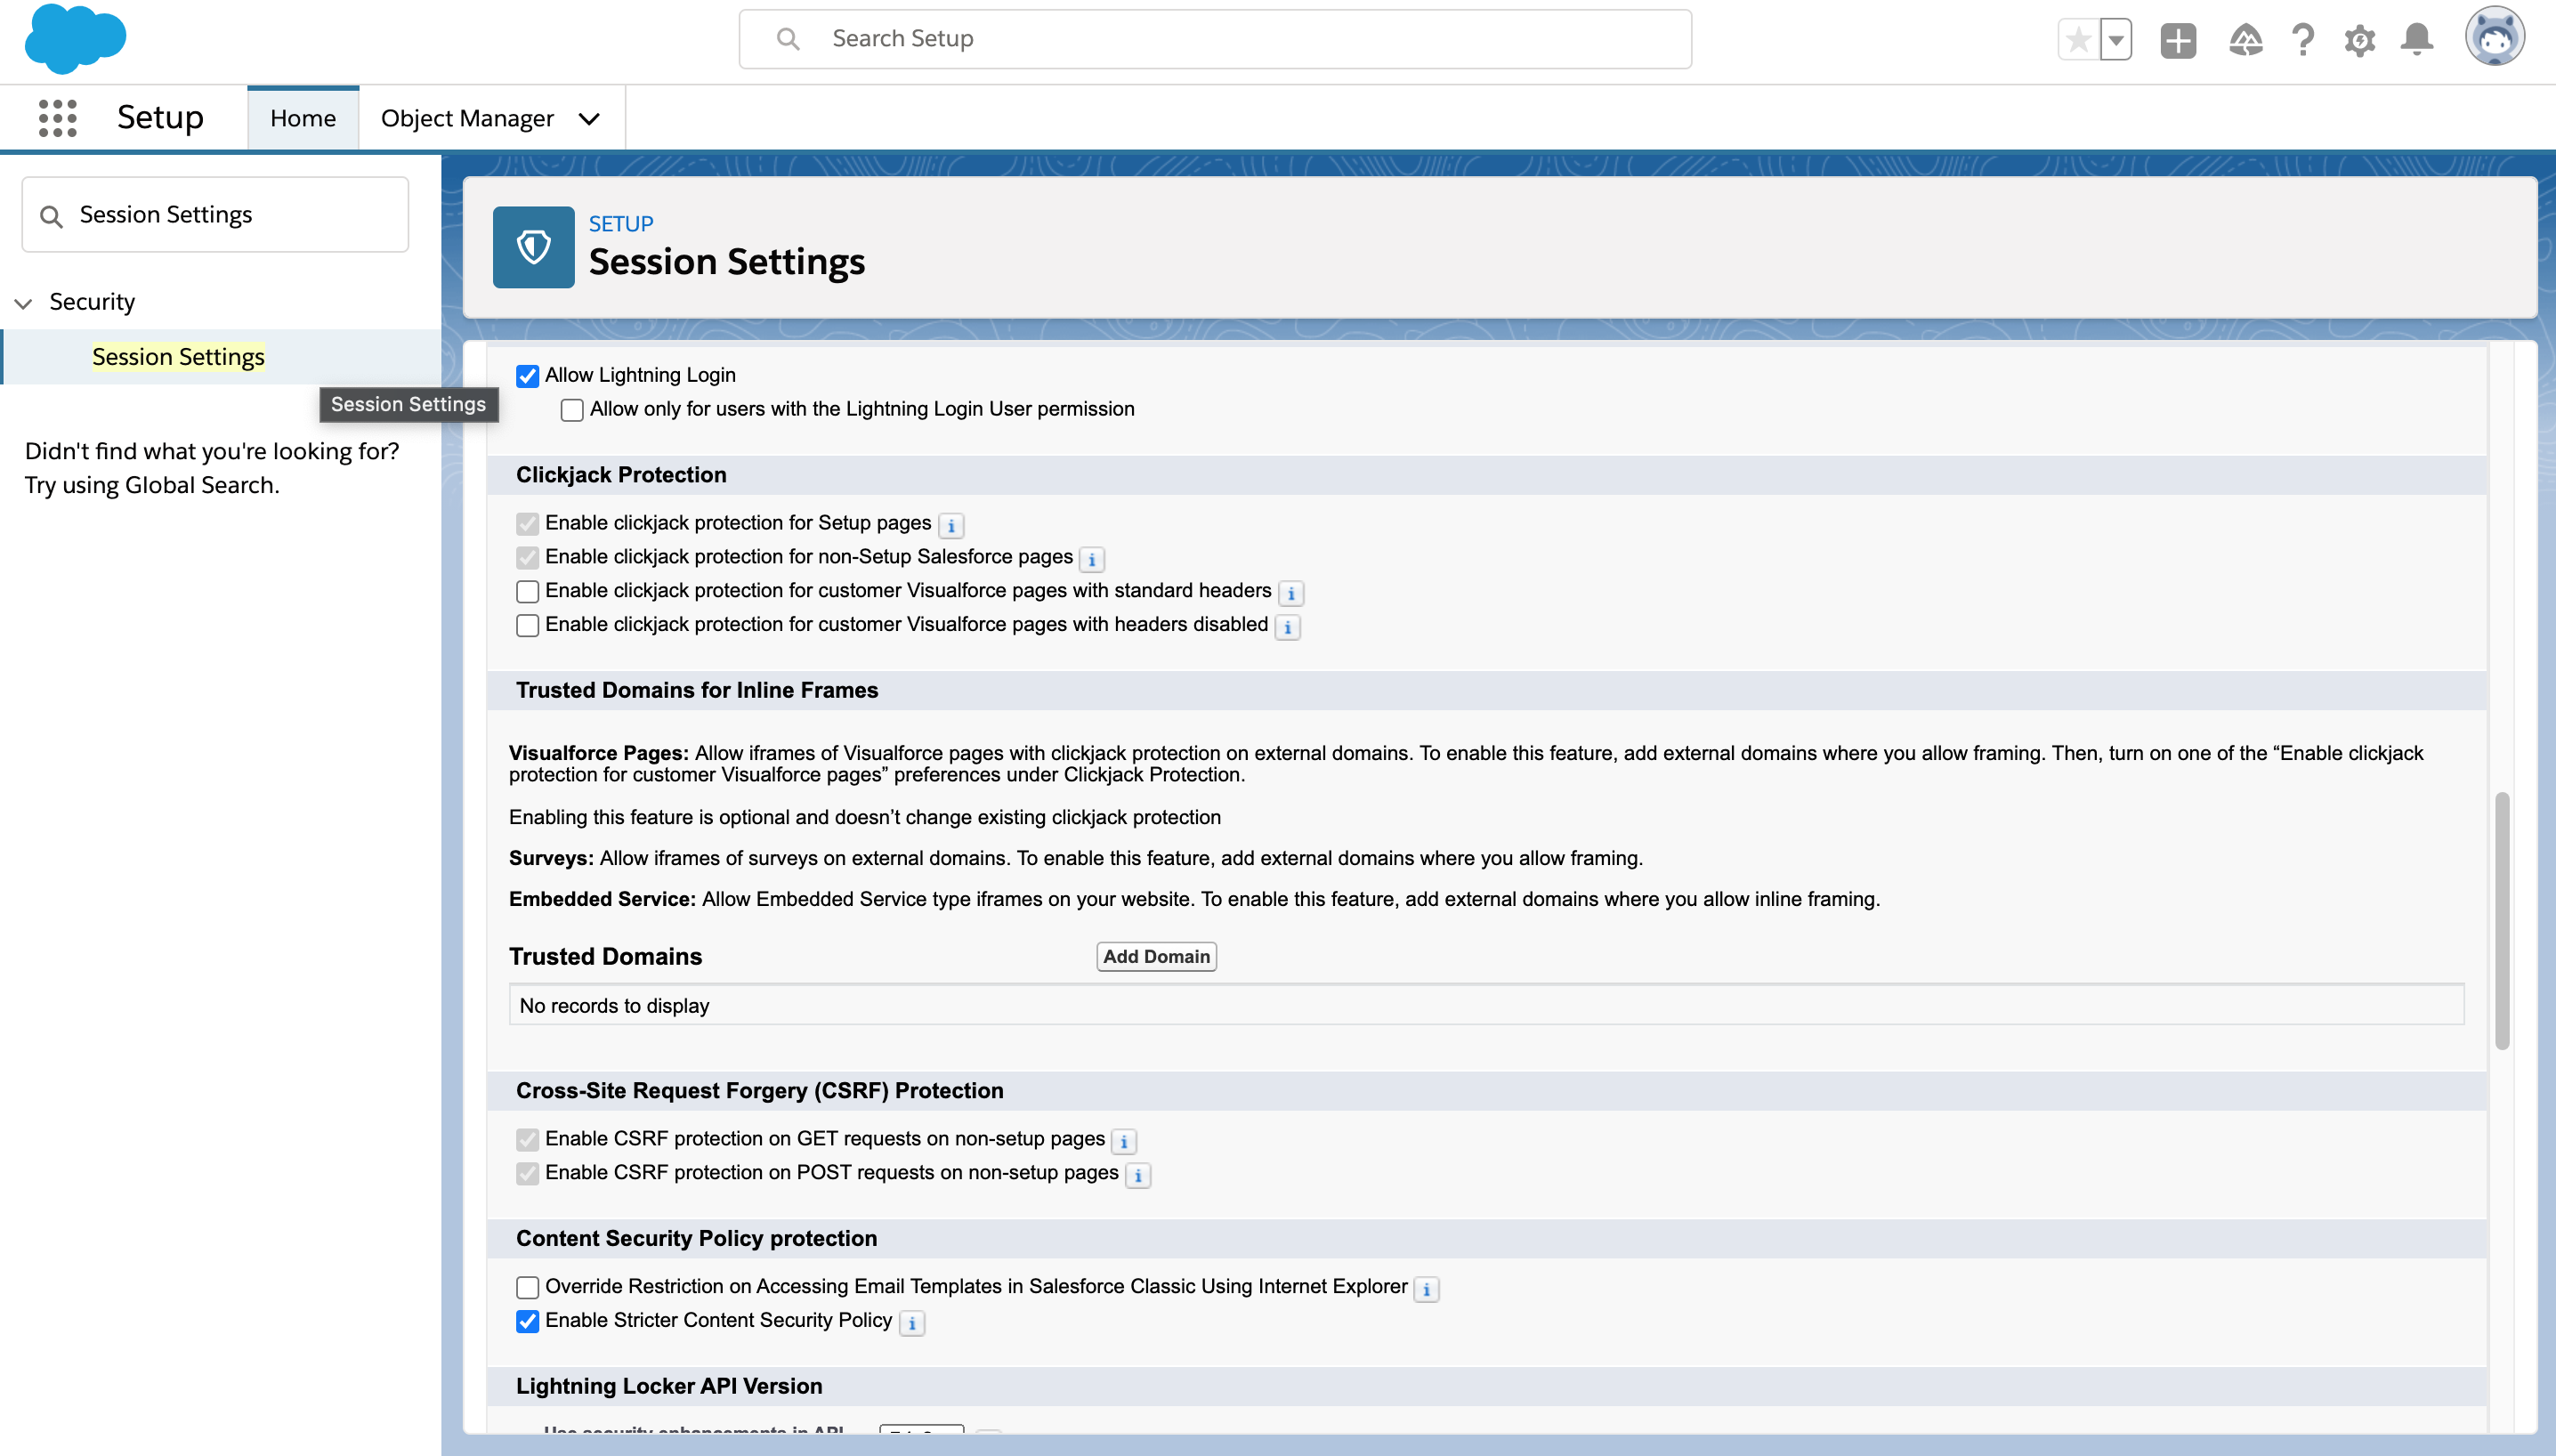
- Search for Session Settings in Quick Find and select it. Select the checkbox options as per the screenshot and click Next.
- Enter the following domain and click Save.
Domain: *.bybox.com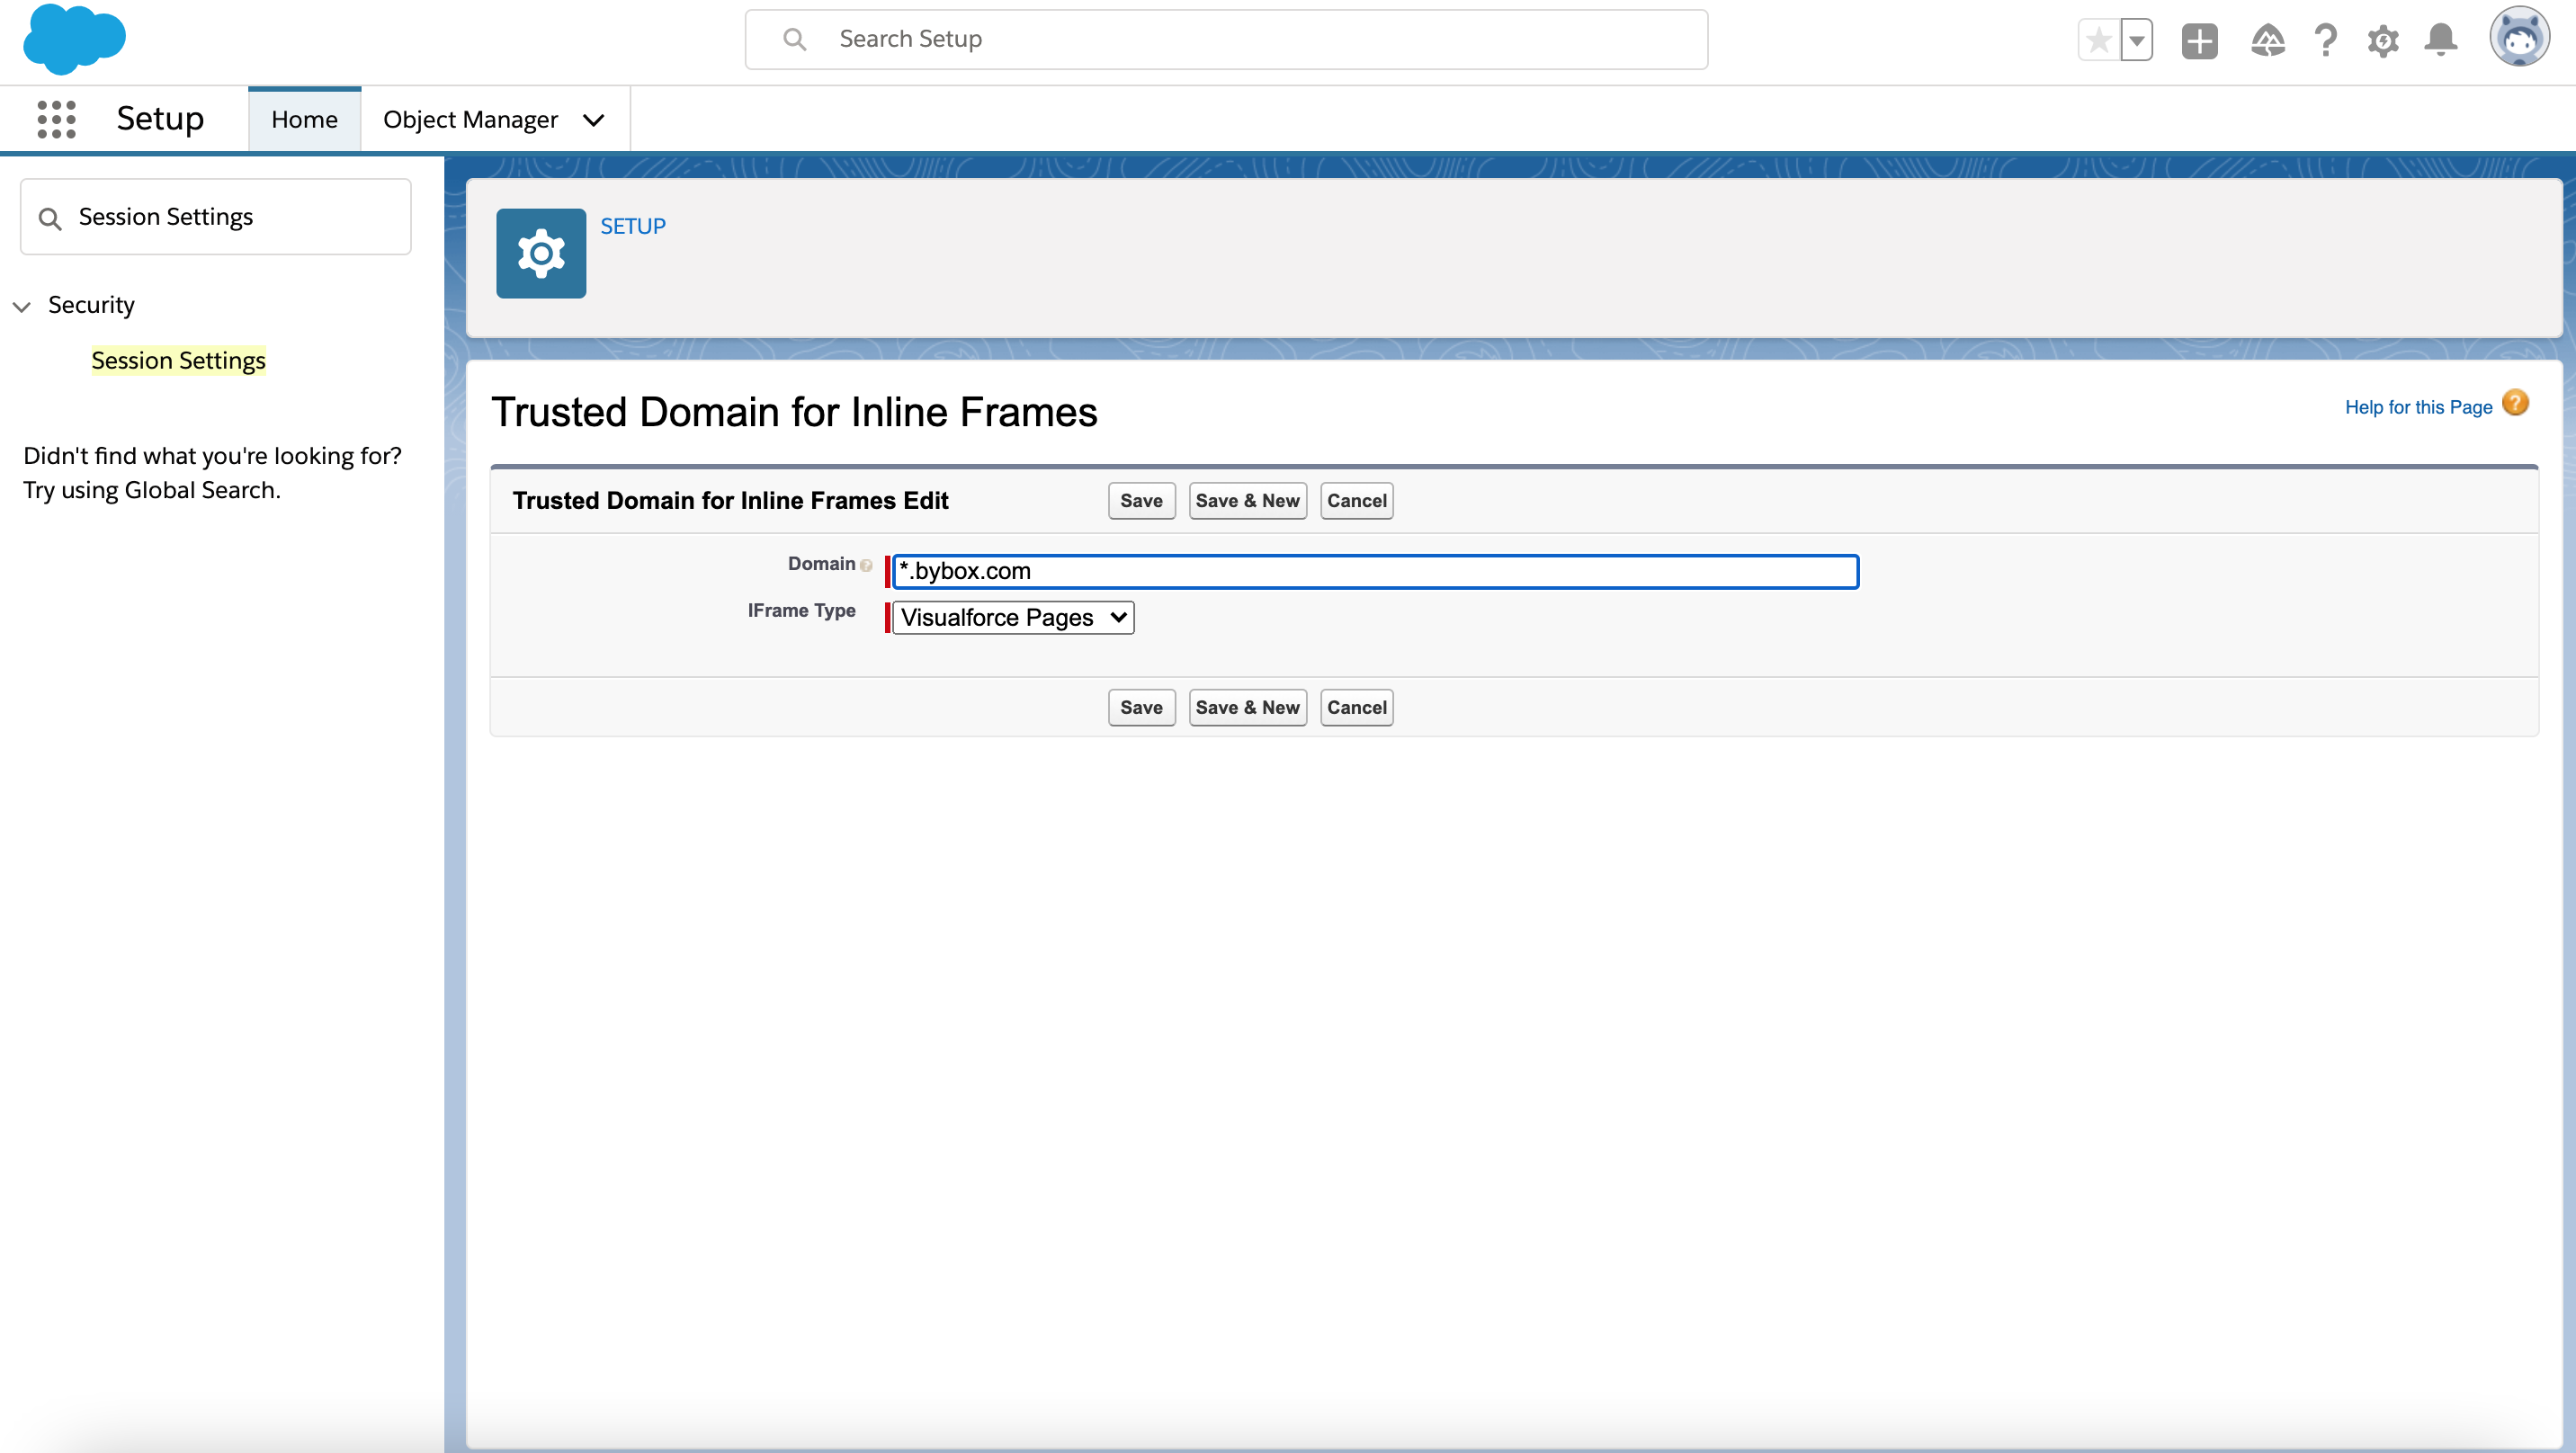
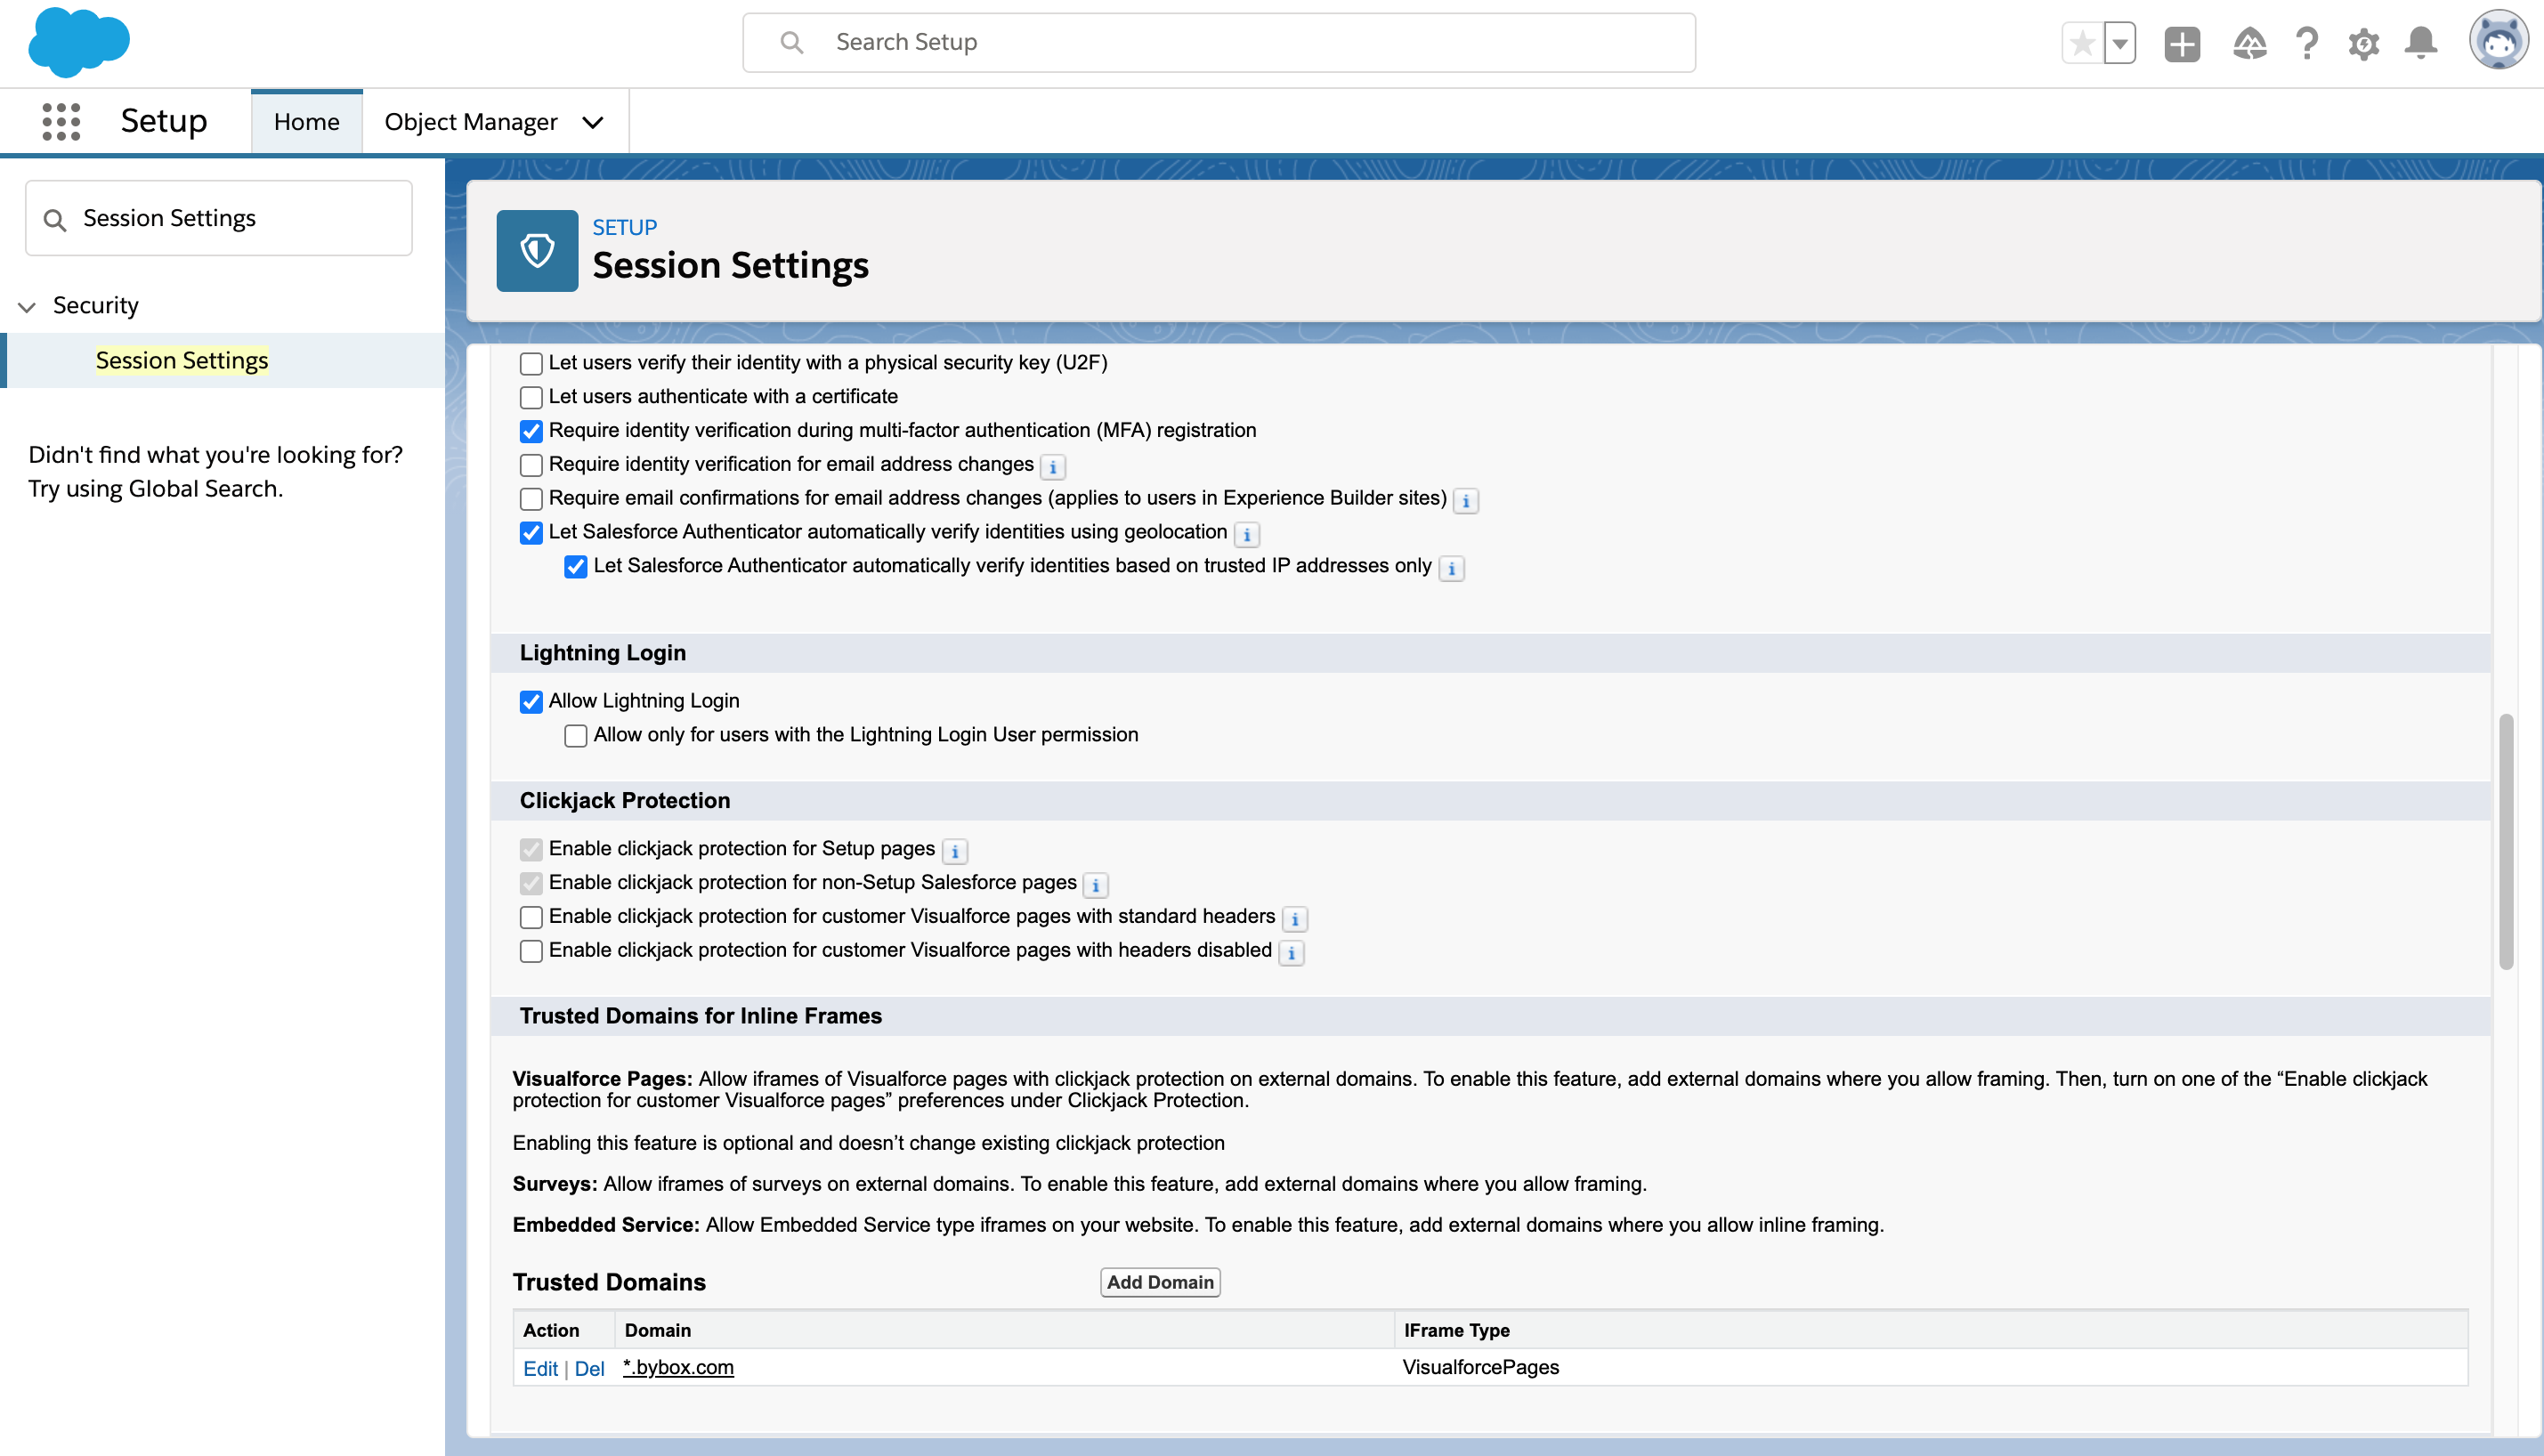
- Select other checkbox options as per screenshot and click Save.
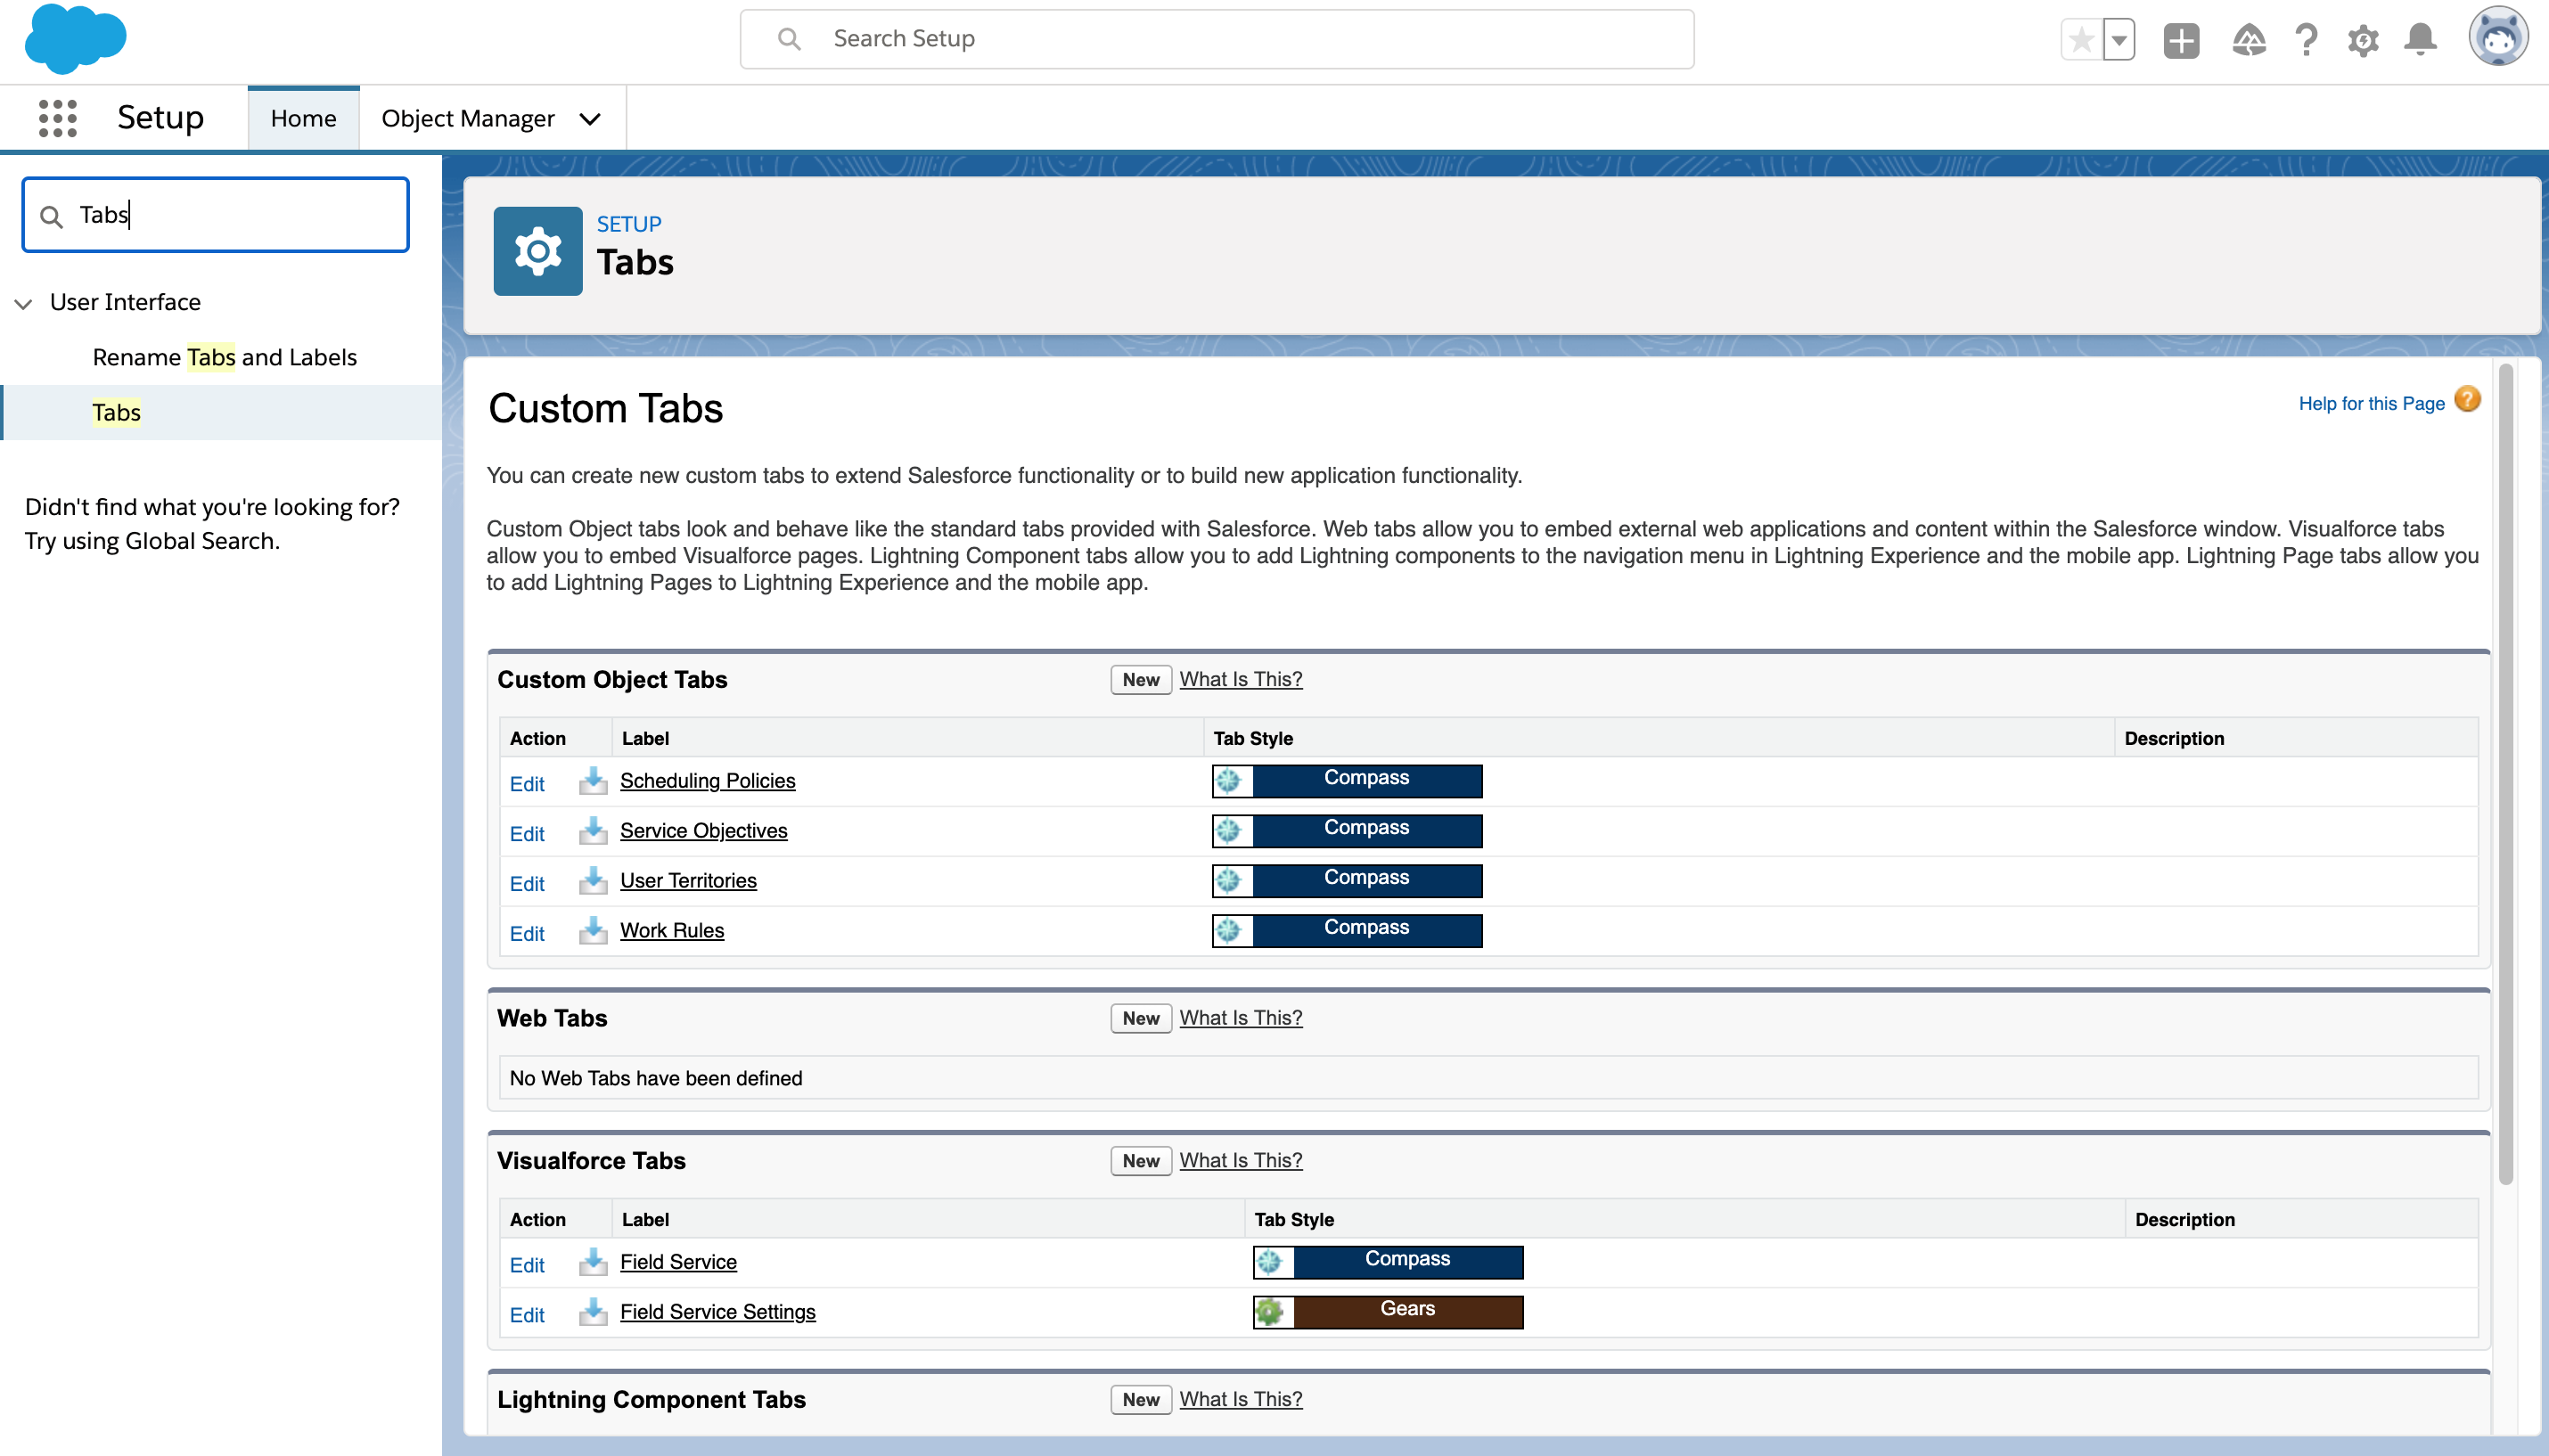
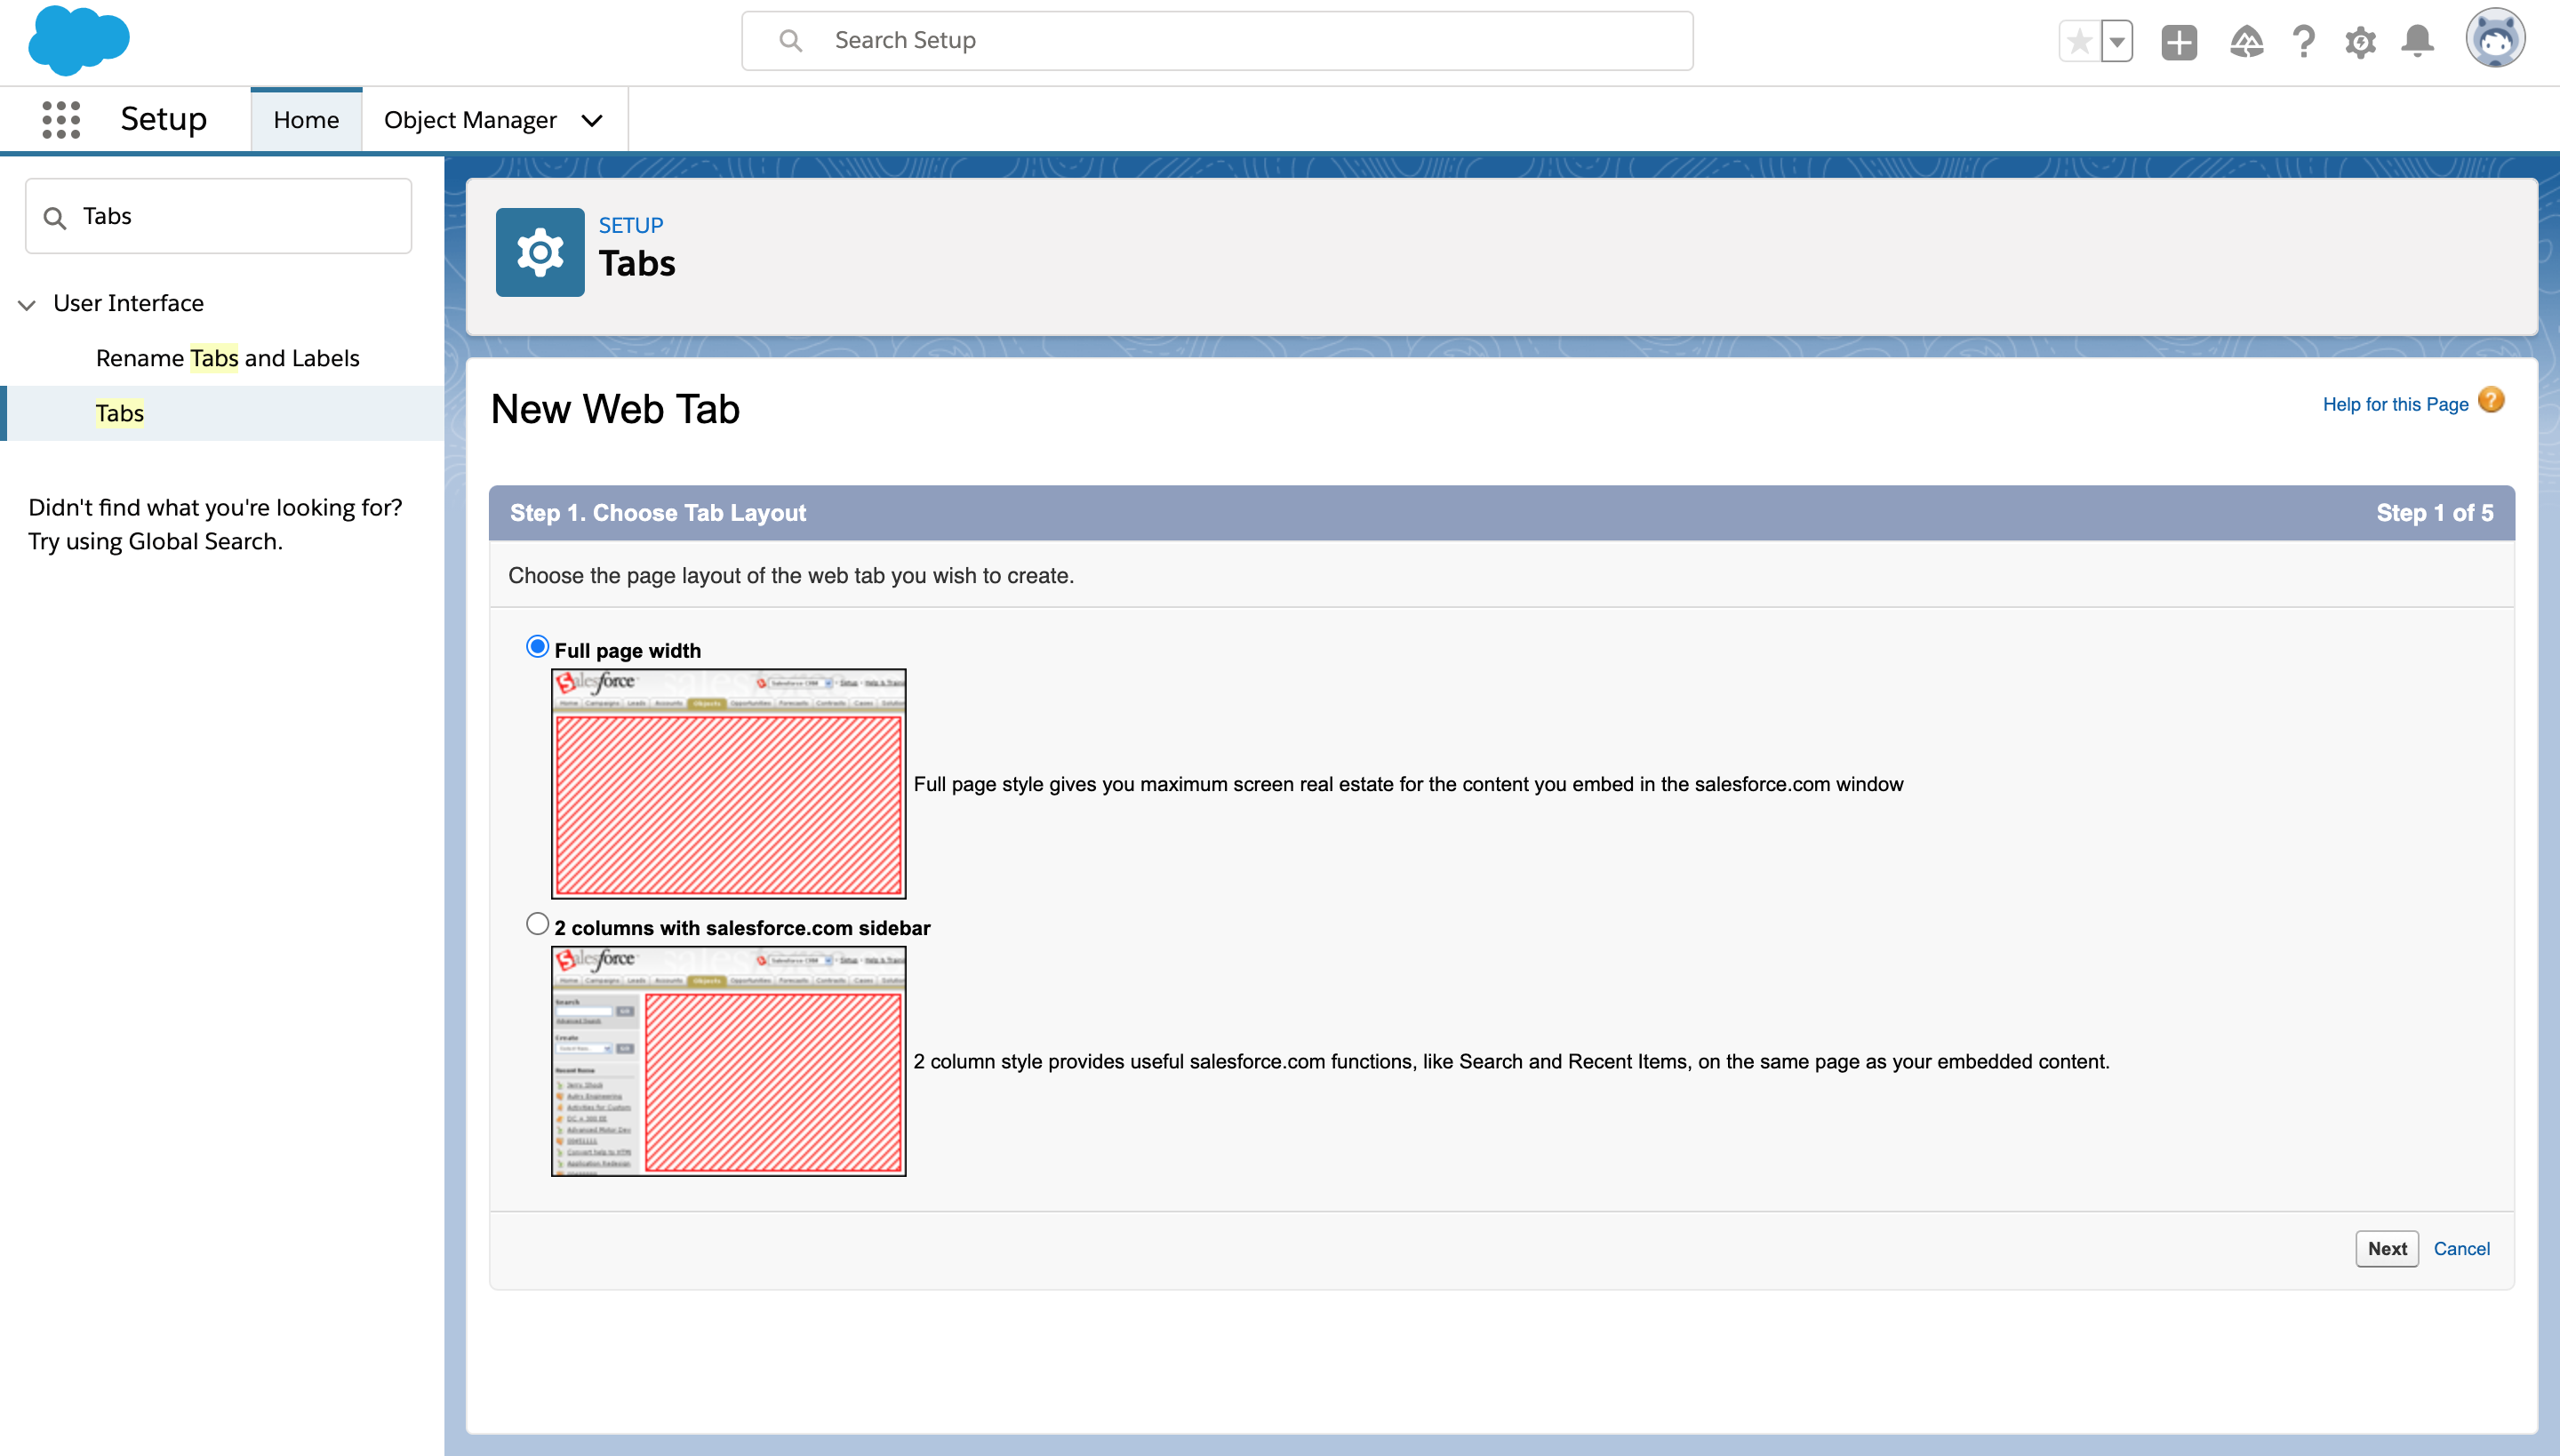
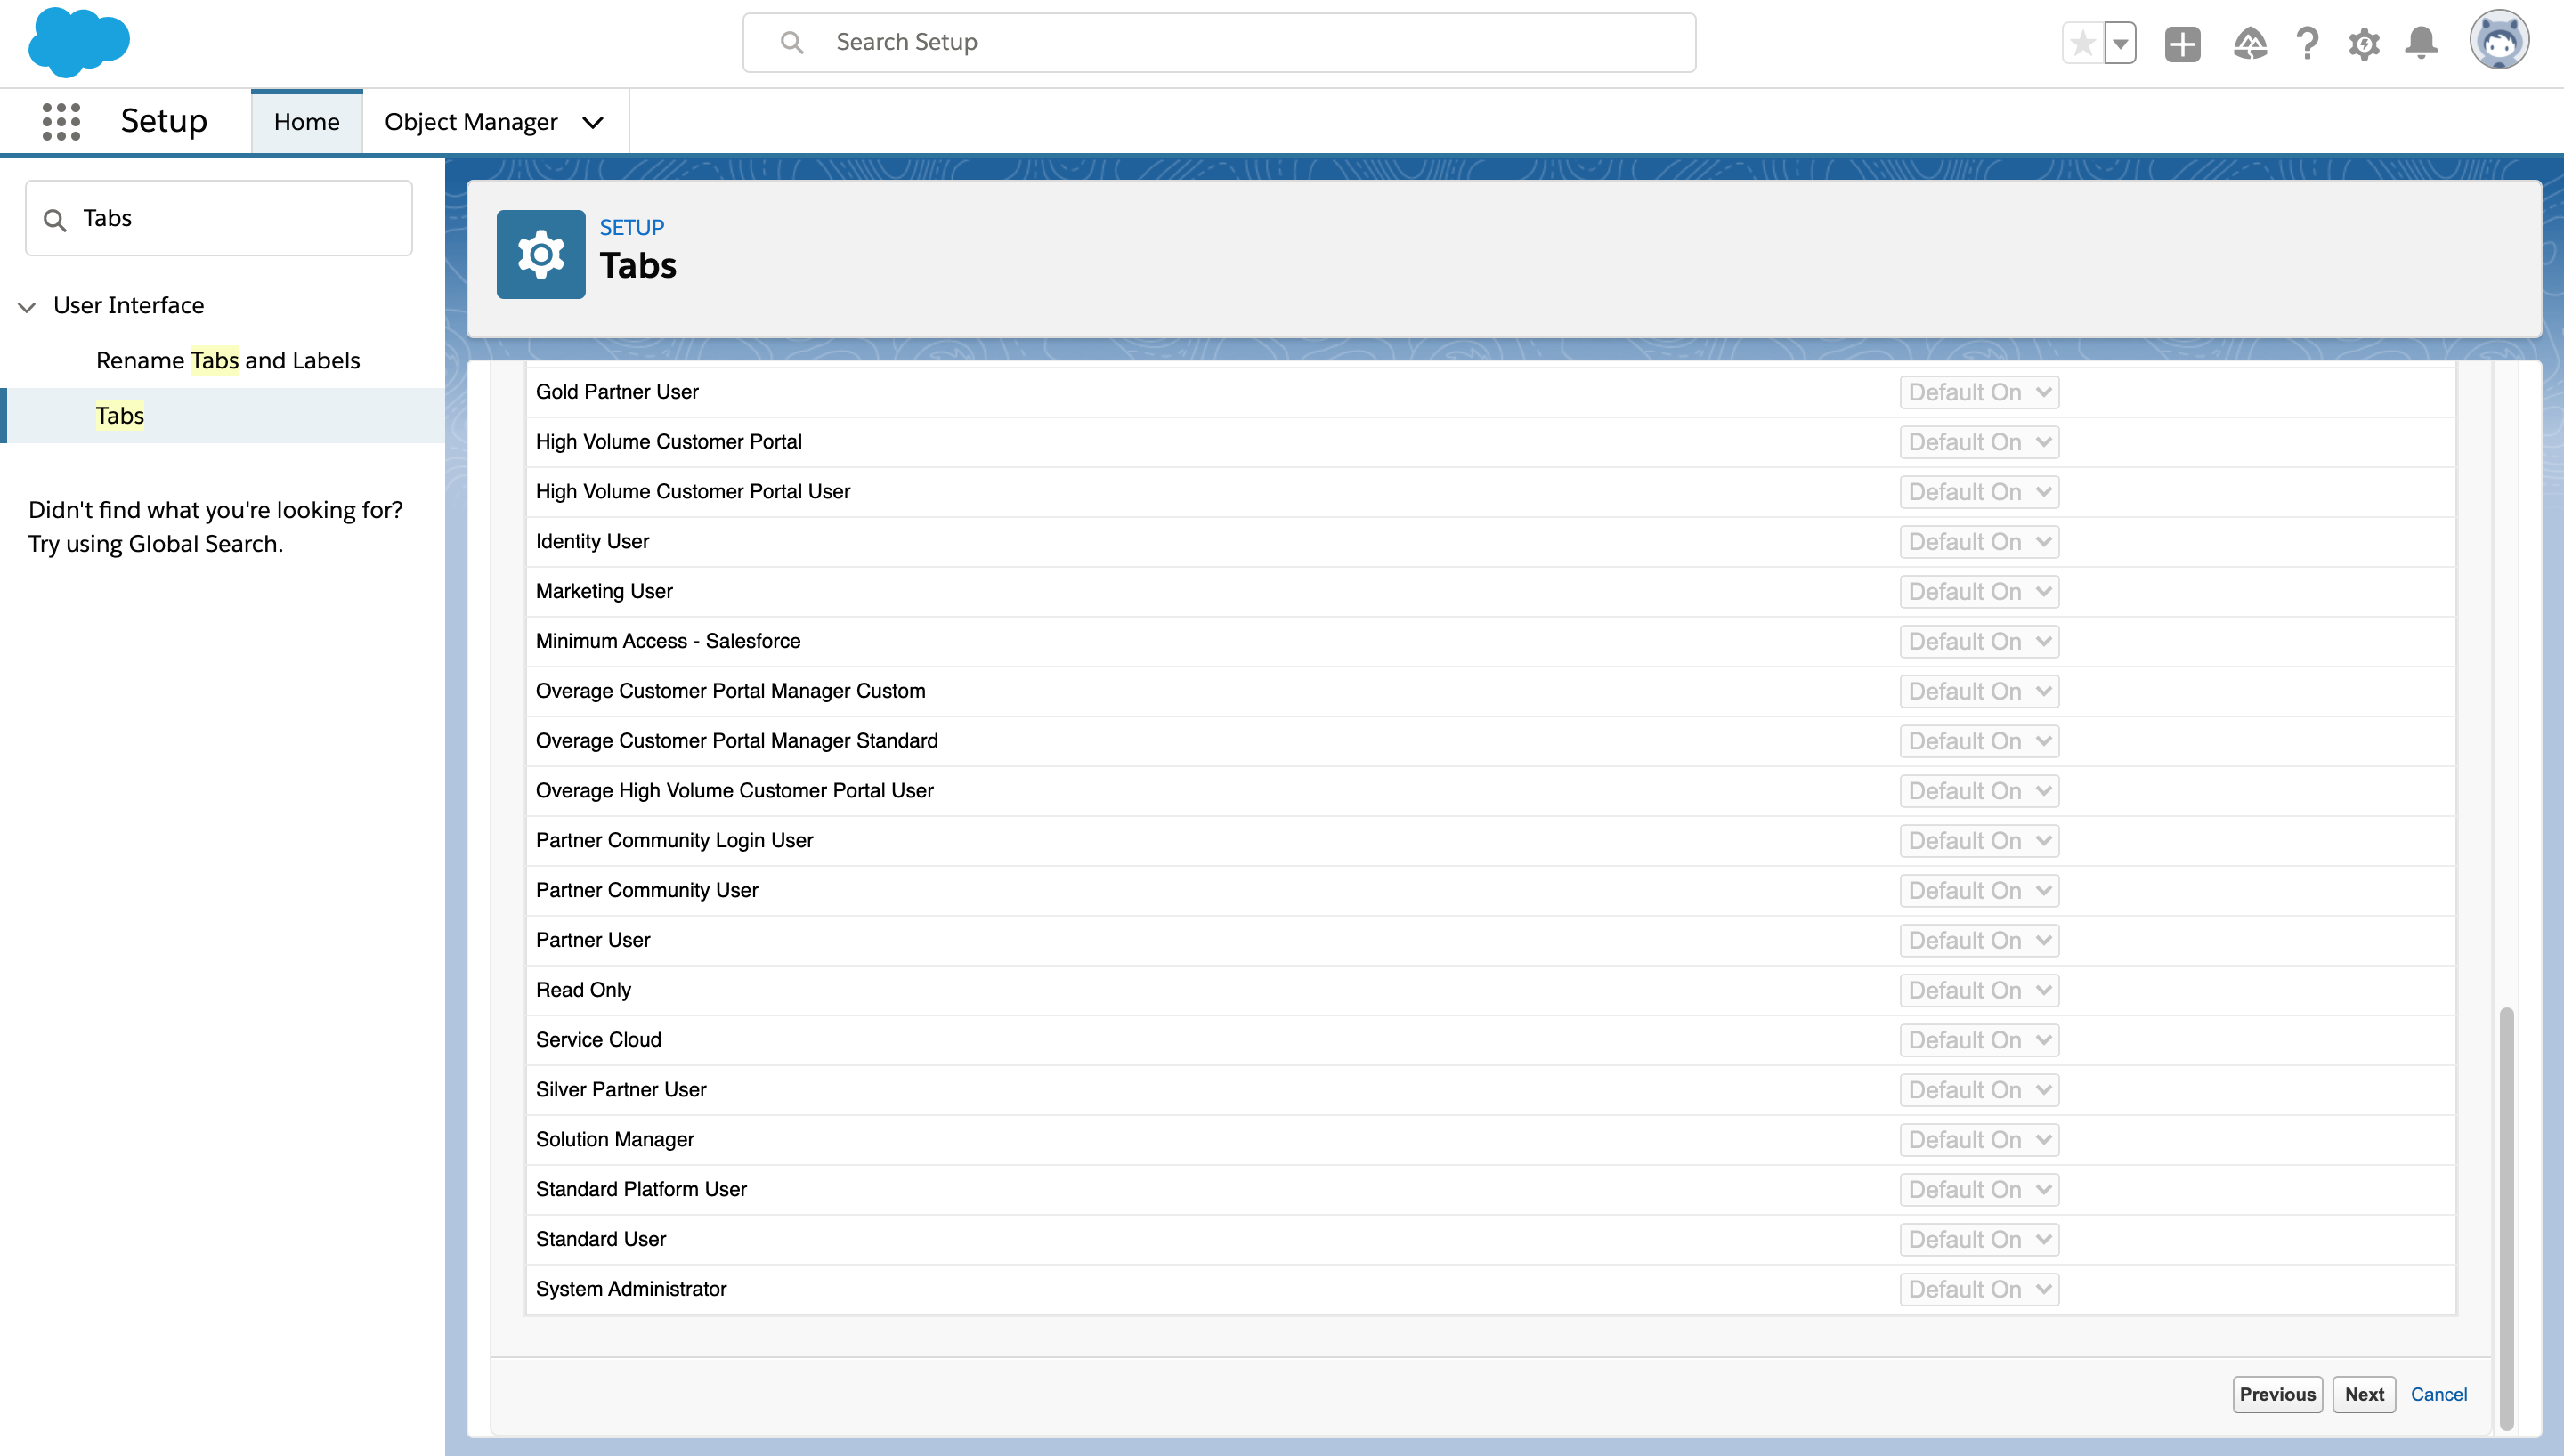
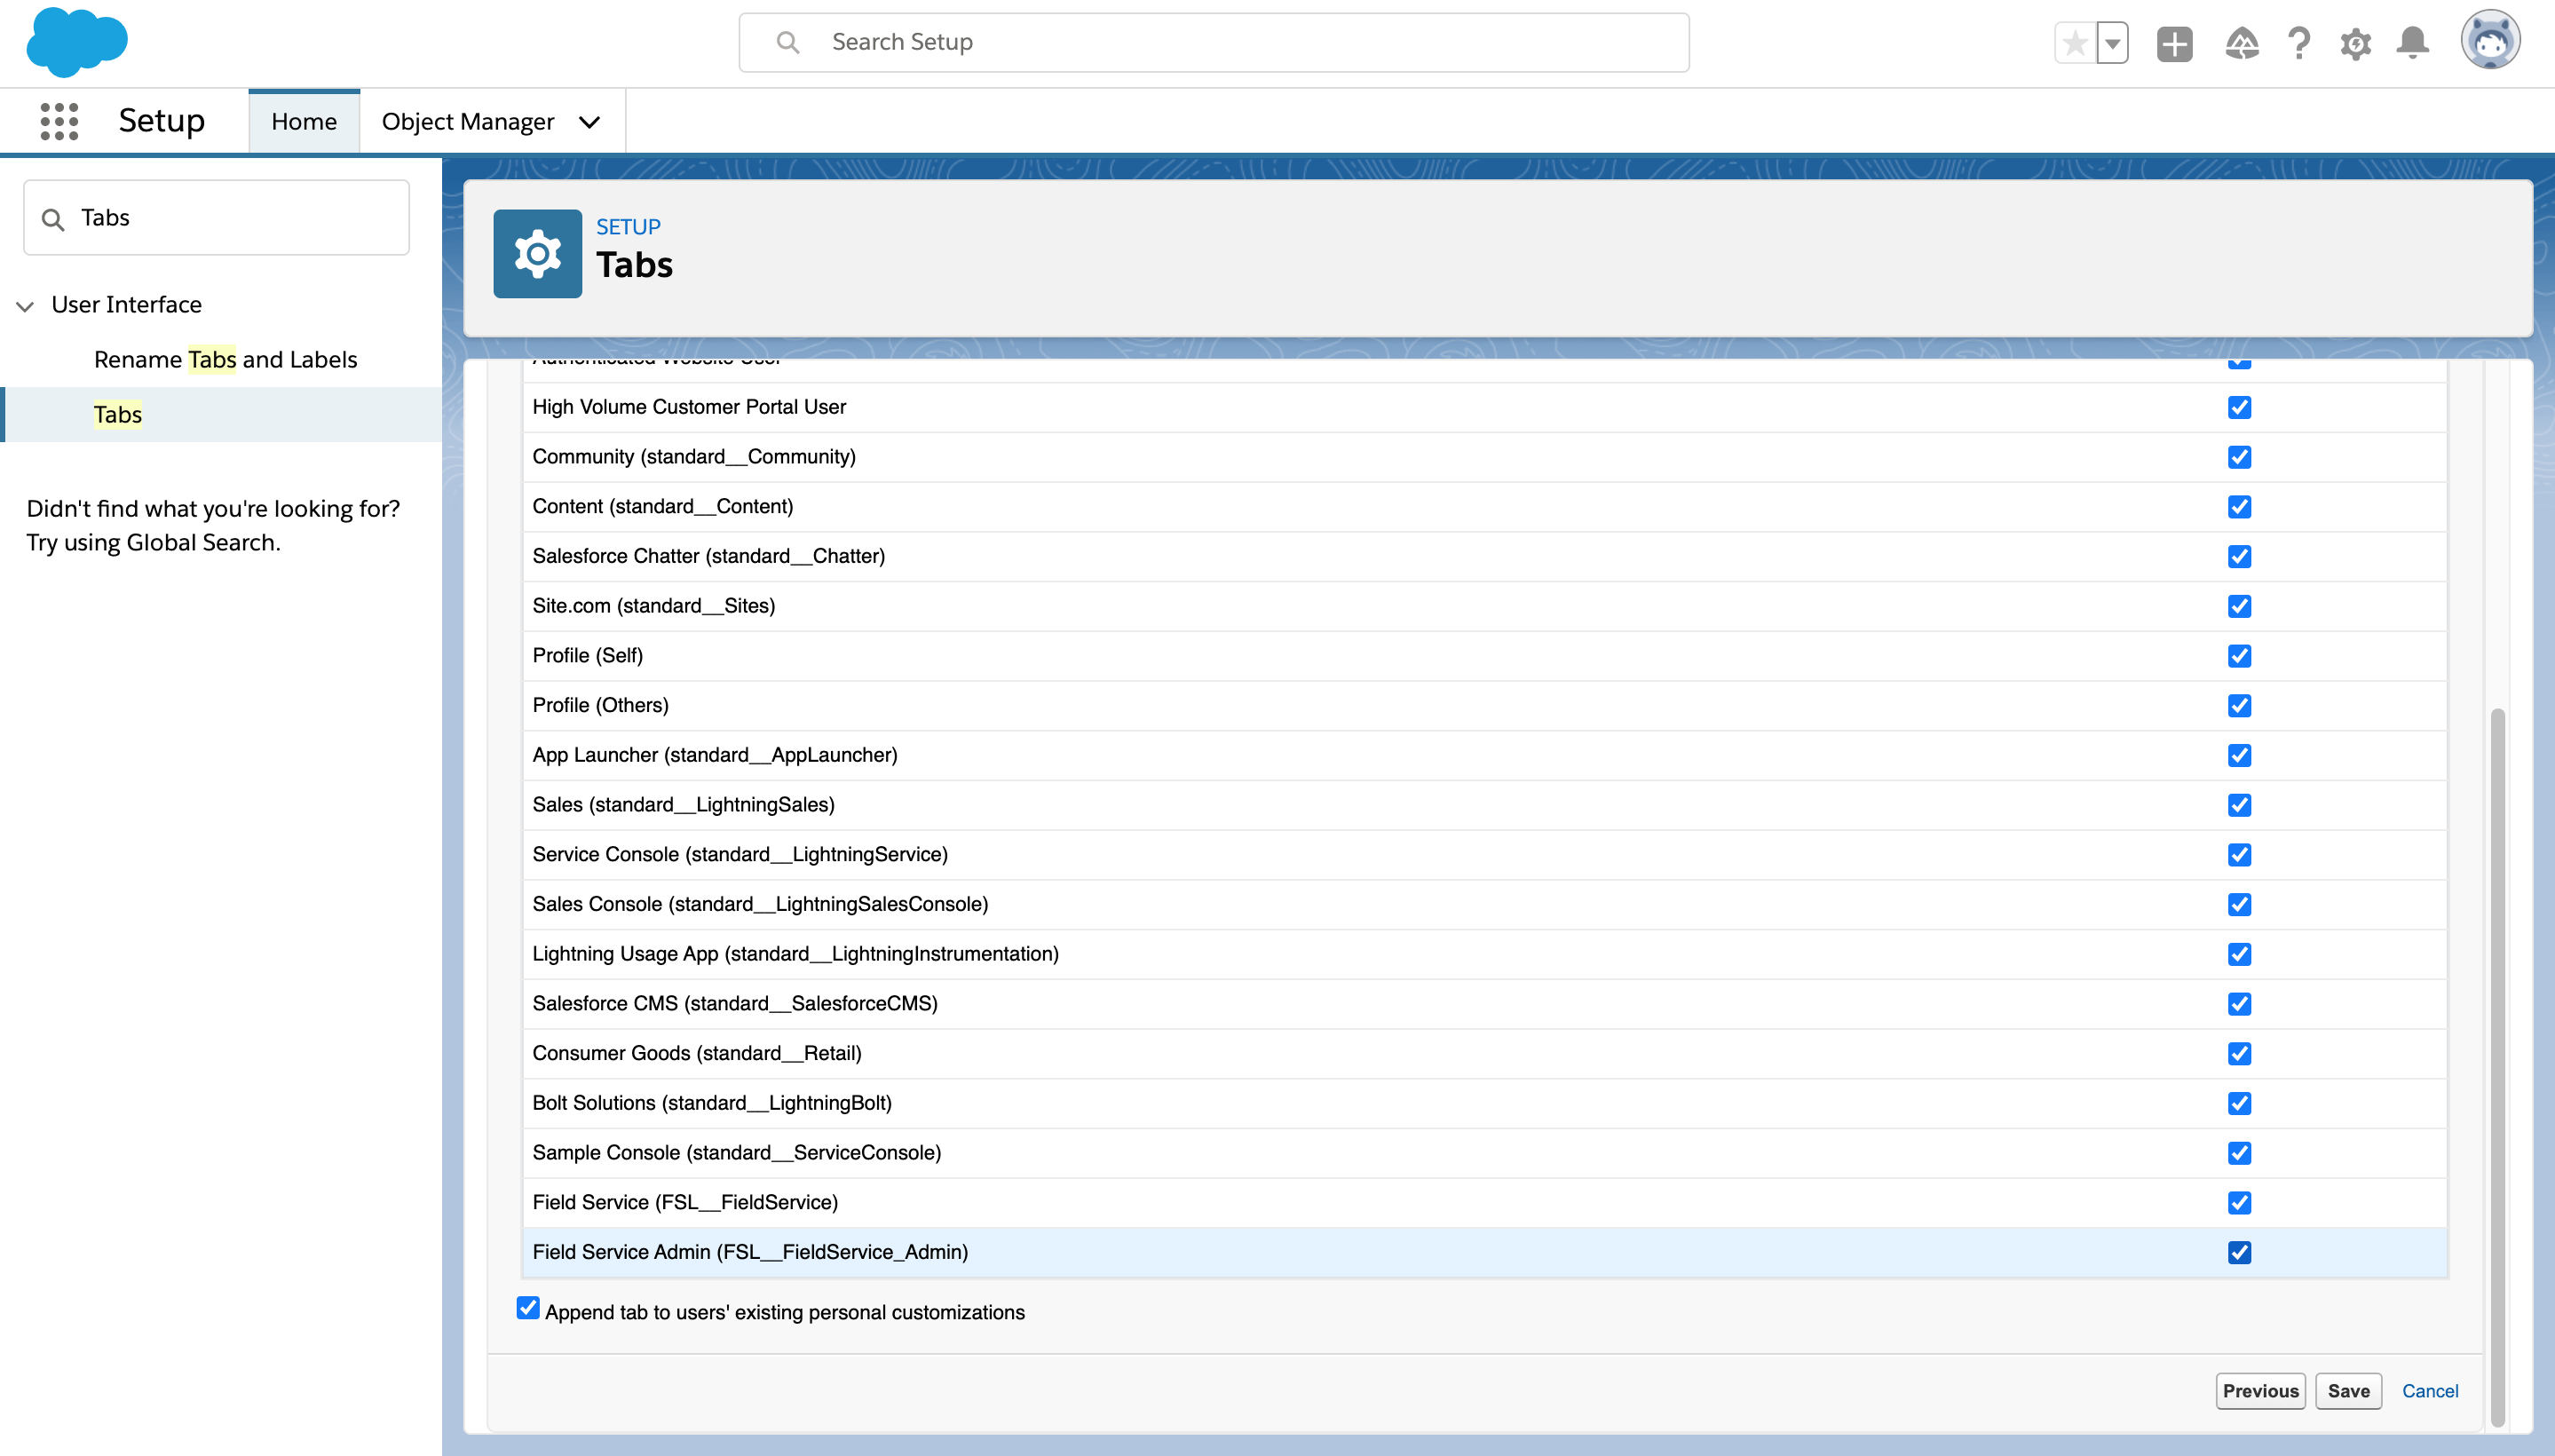
- Search for Tabs in Quick Find and select it. Edit the details as per screenshot and select Next.
- Enter the following details and click Next.
Tab Label: Konnect
Tab Name: Konnect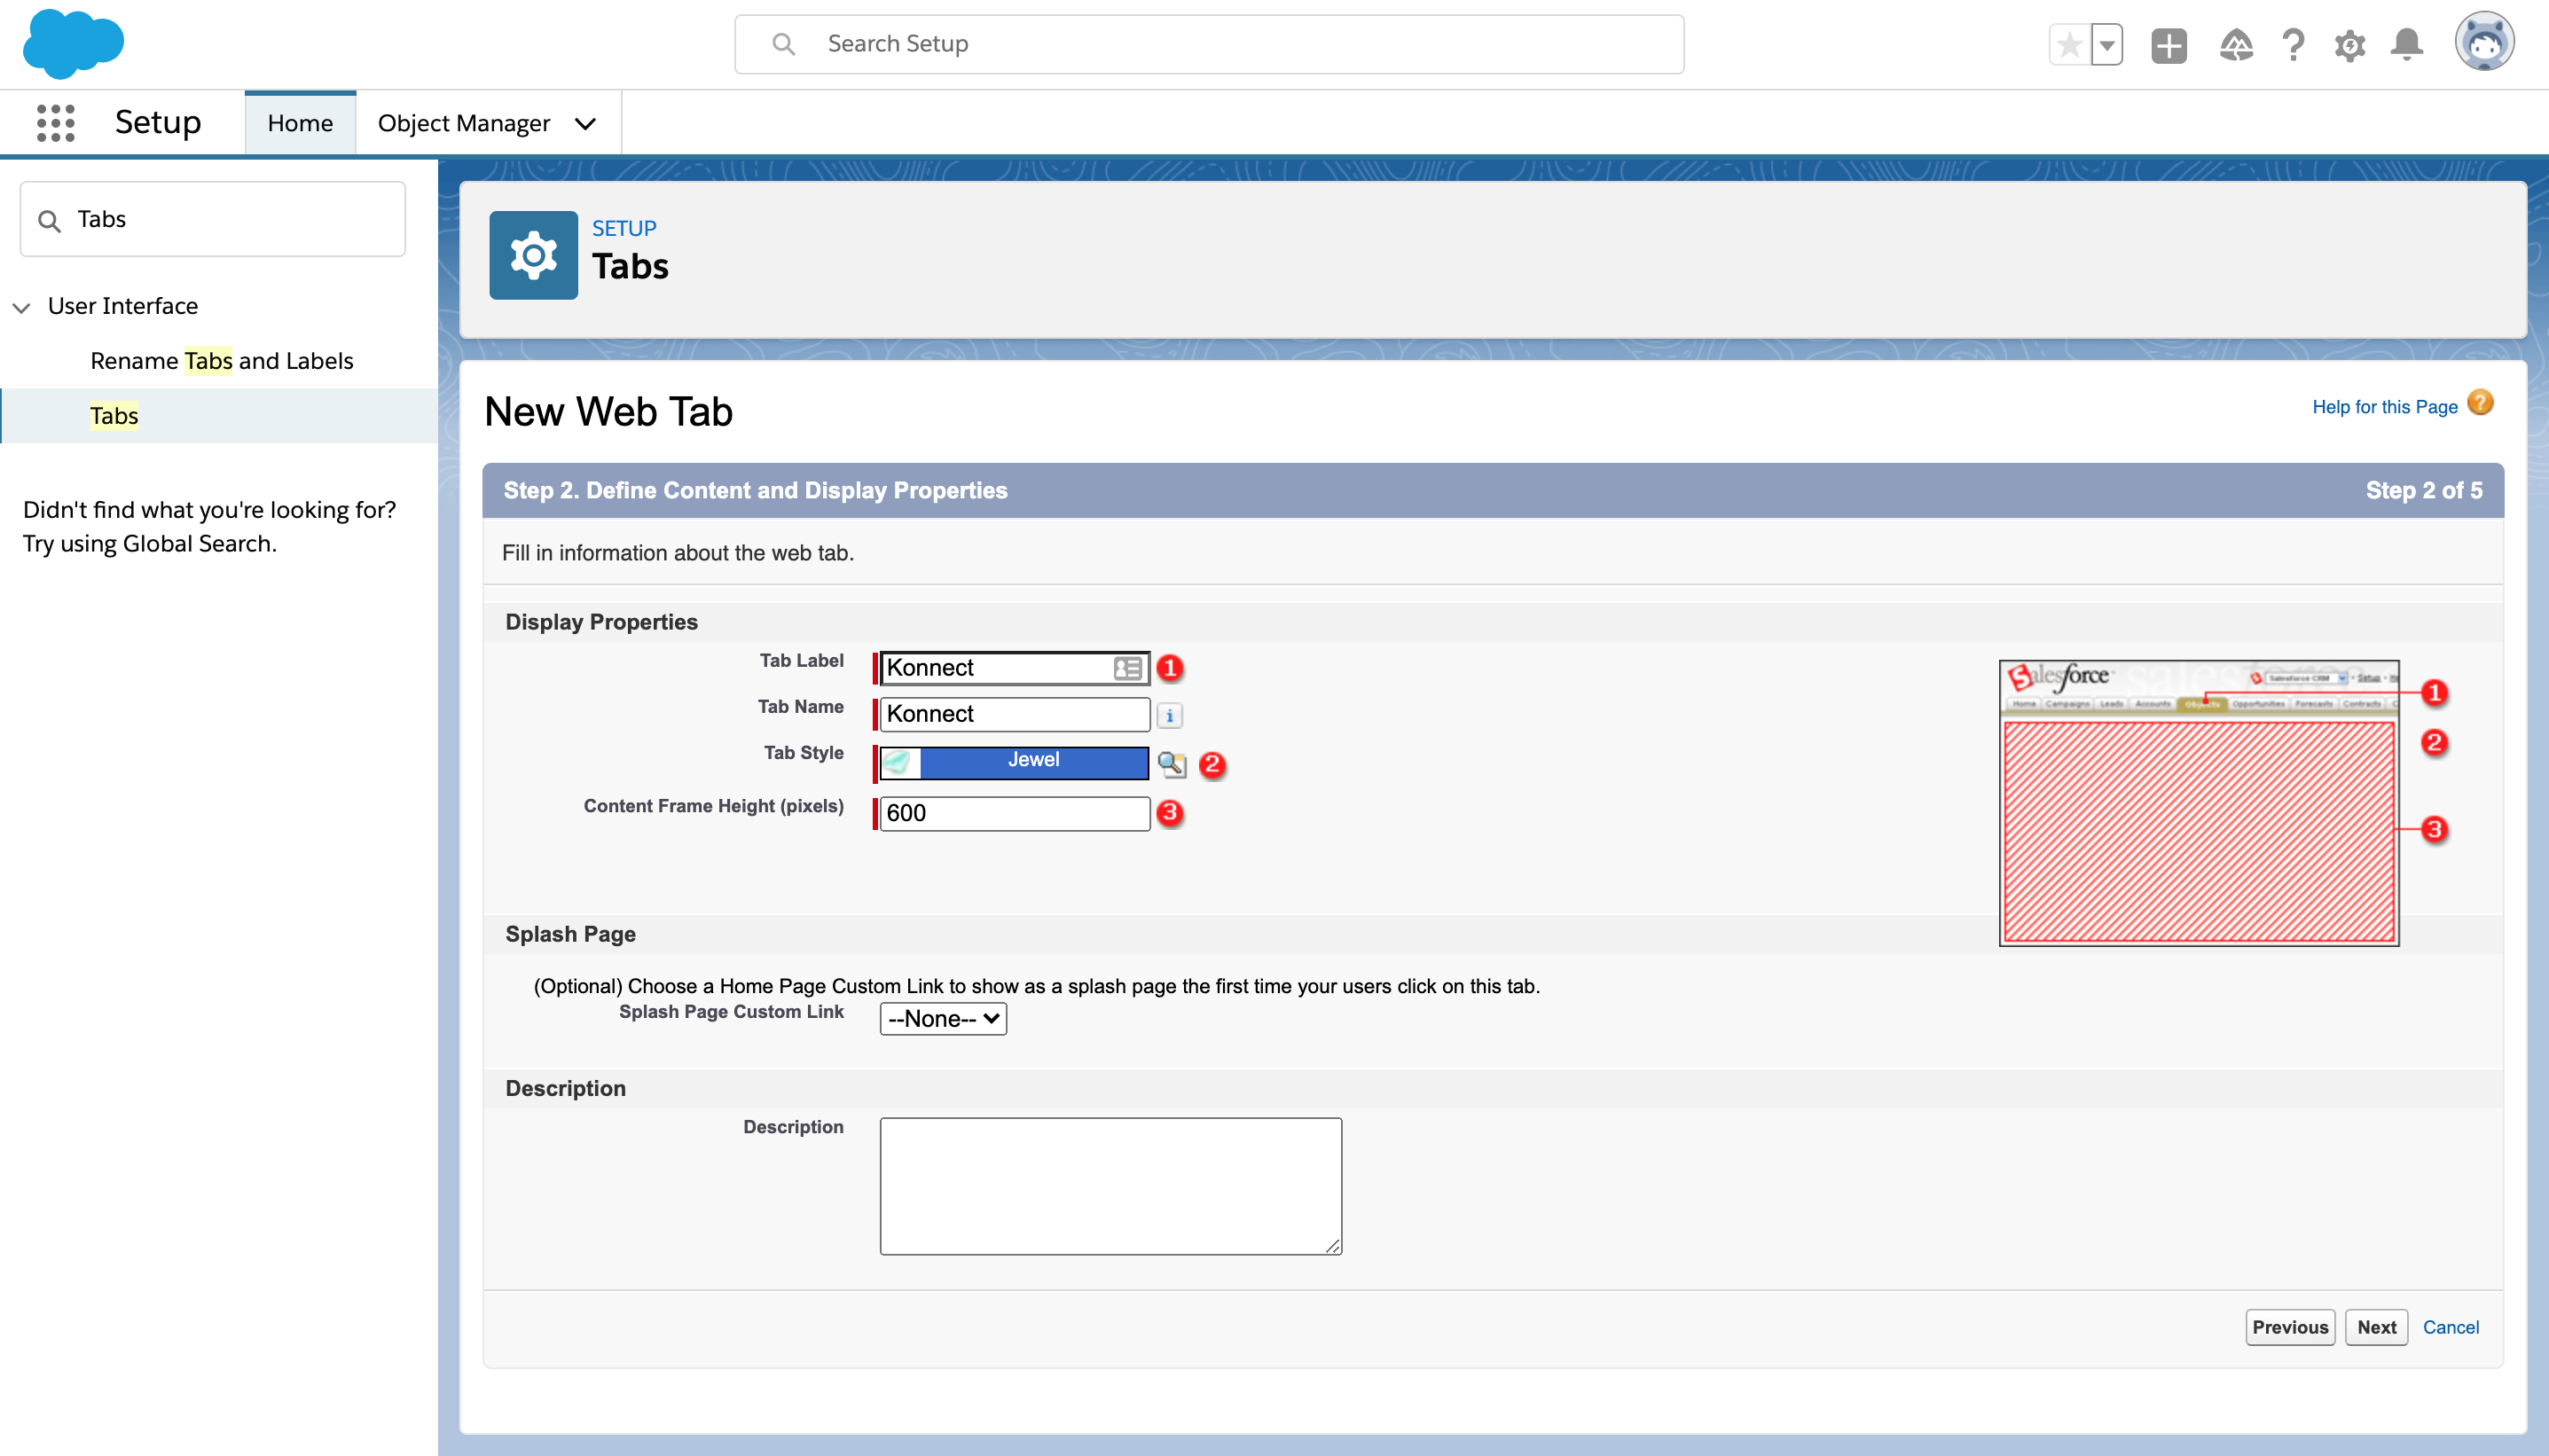
- Enter the following details and click Next.
URL: https://uat.bybox.com/KonnectMobileWeb/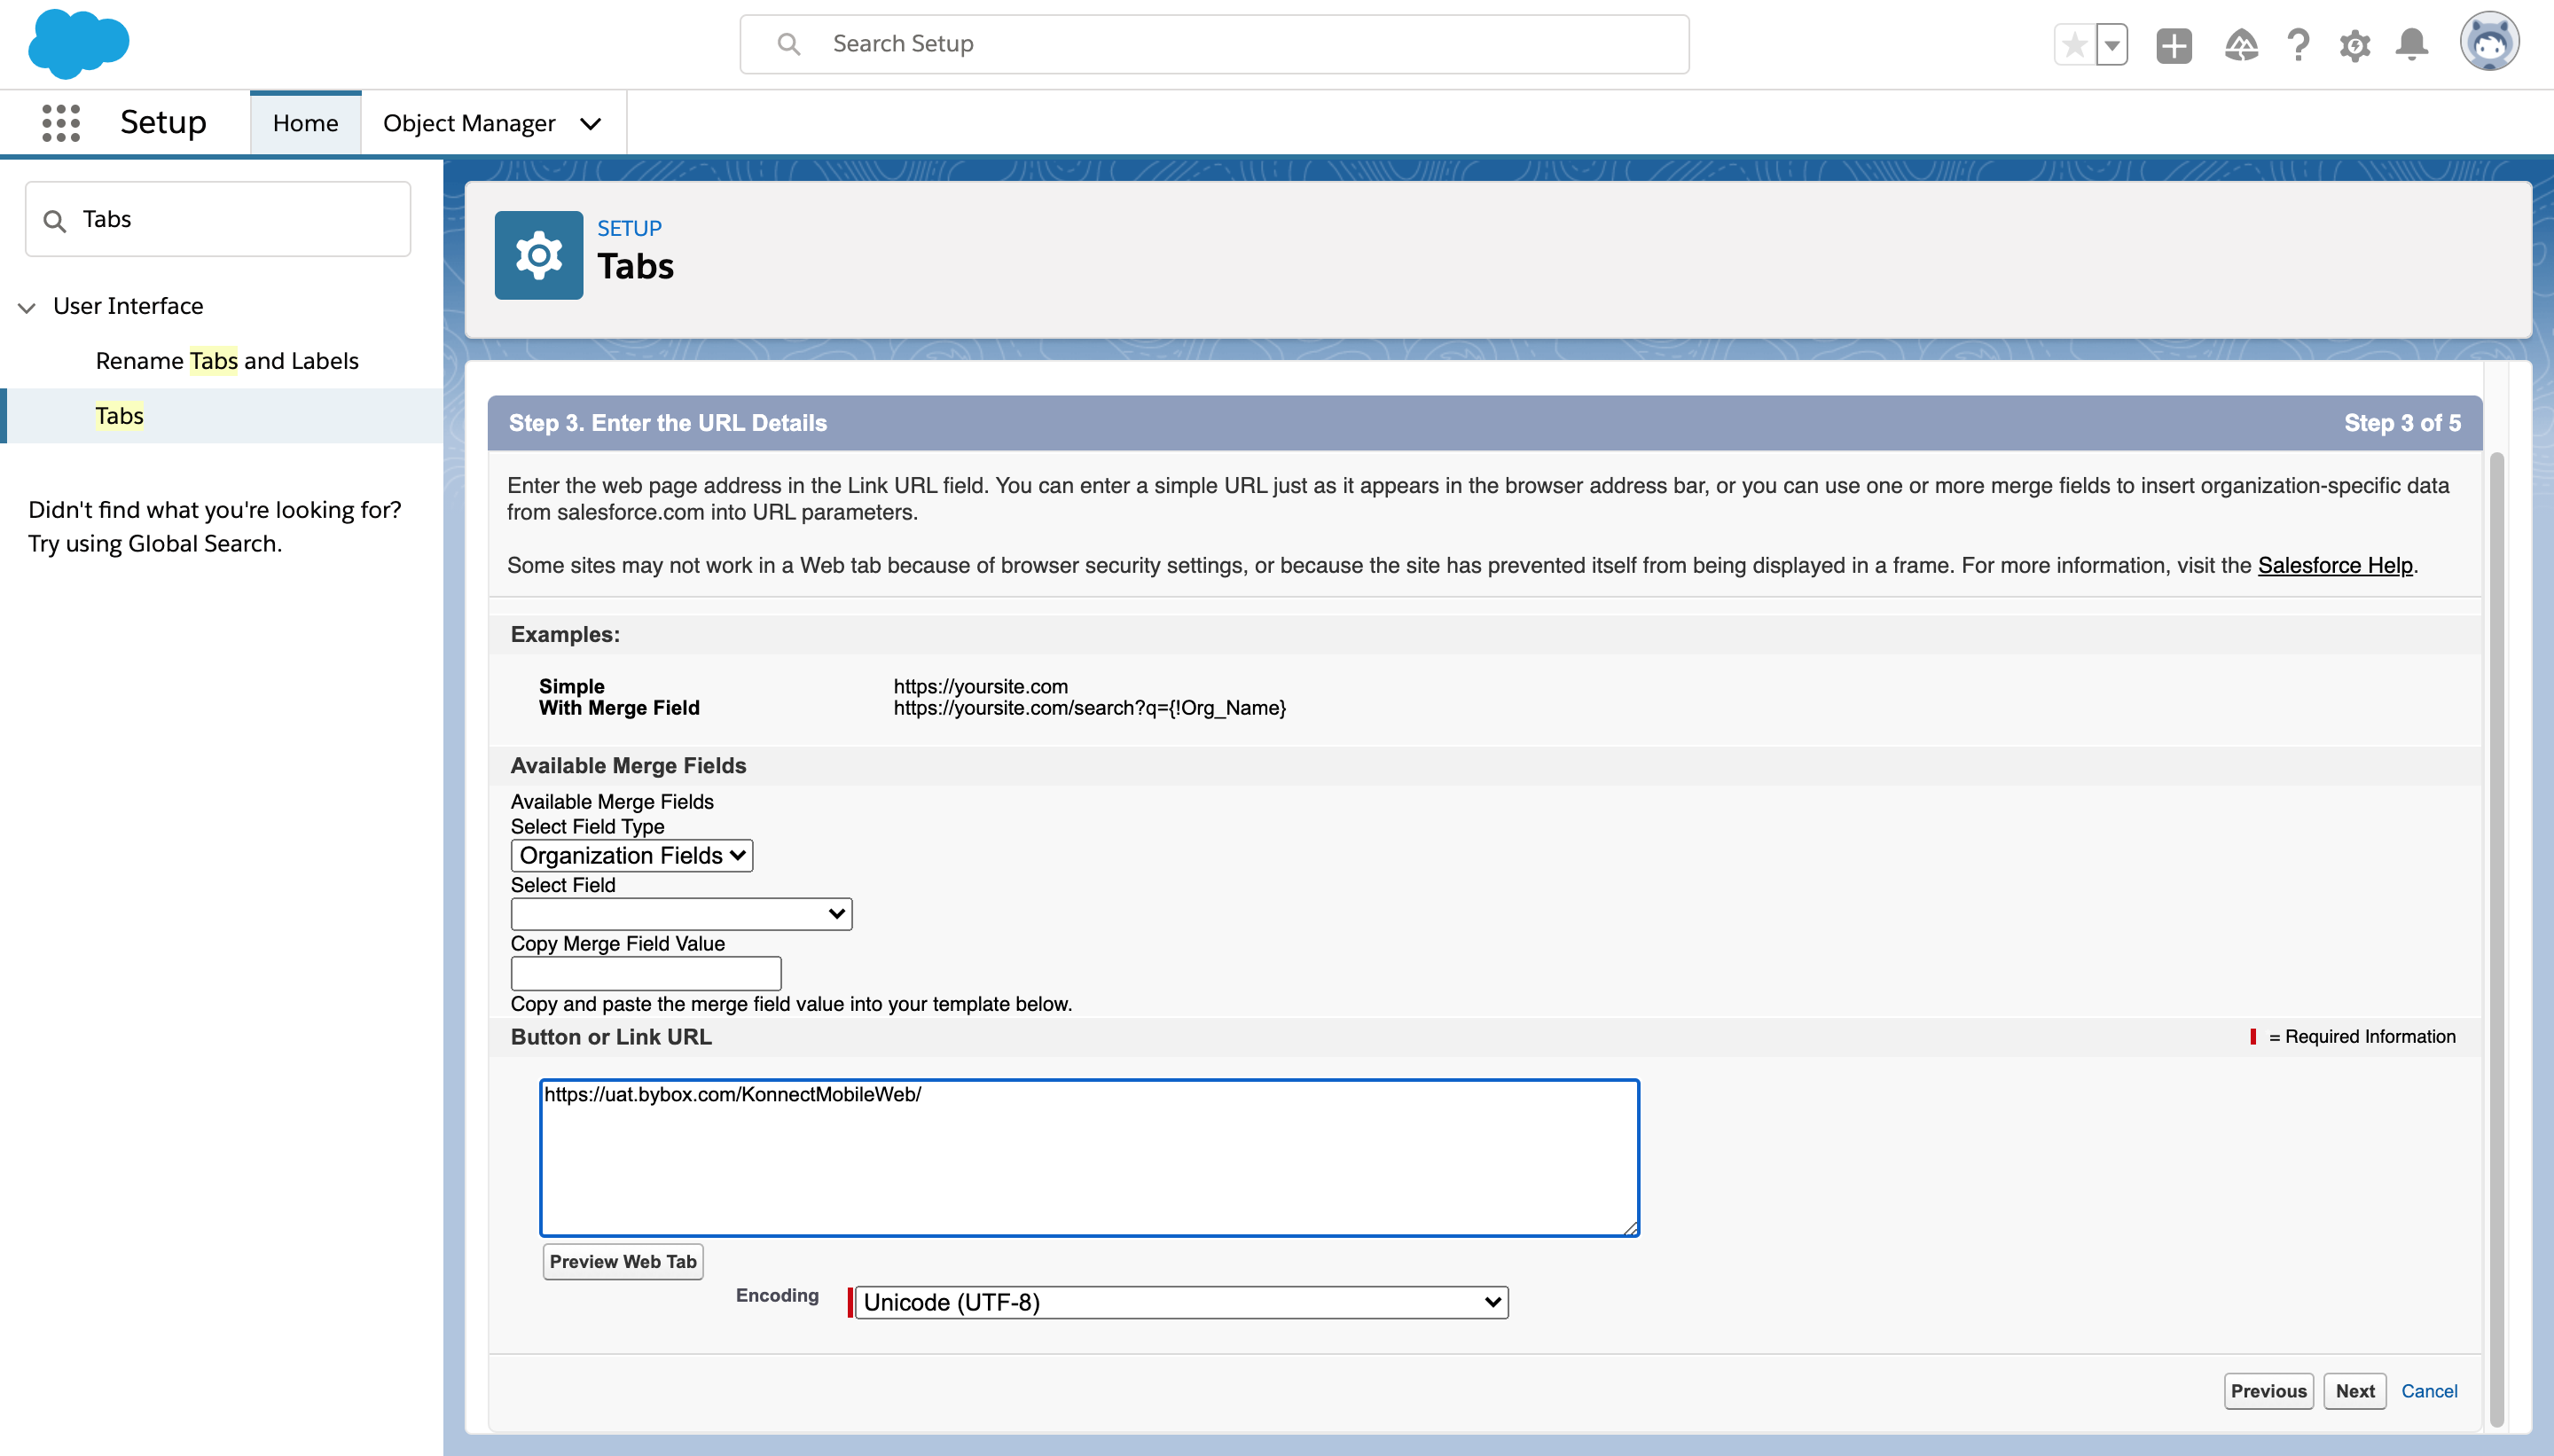
- Verify and click Save.
Configure UI Object
Add Additional Fields Using Object Manager
- Go to App Launcher and type the application in the search box
- Select the application name.
View and configure using Object Manager
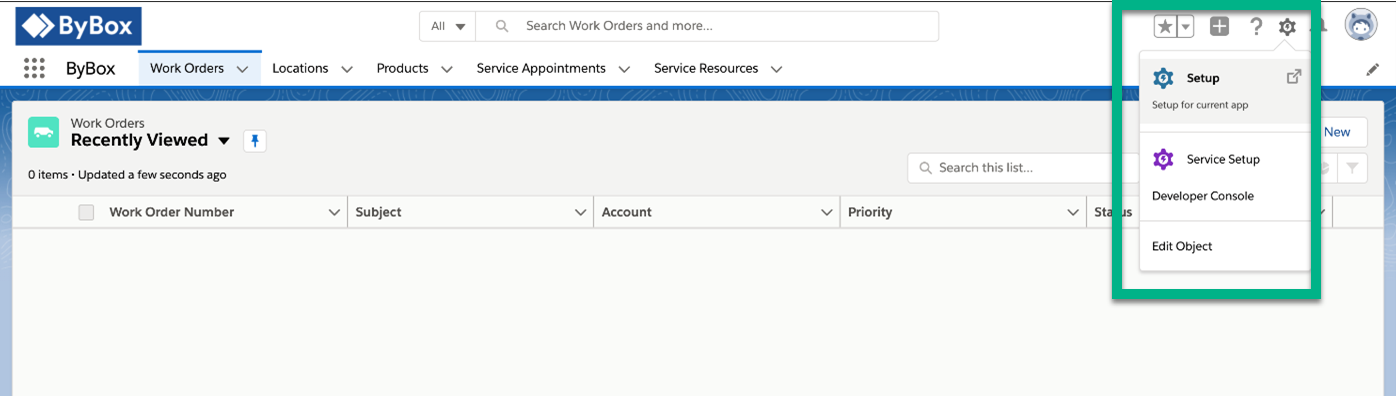
- Within the application, go to Setup and select Setup for current app.
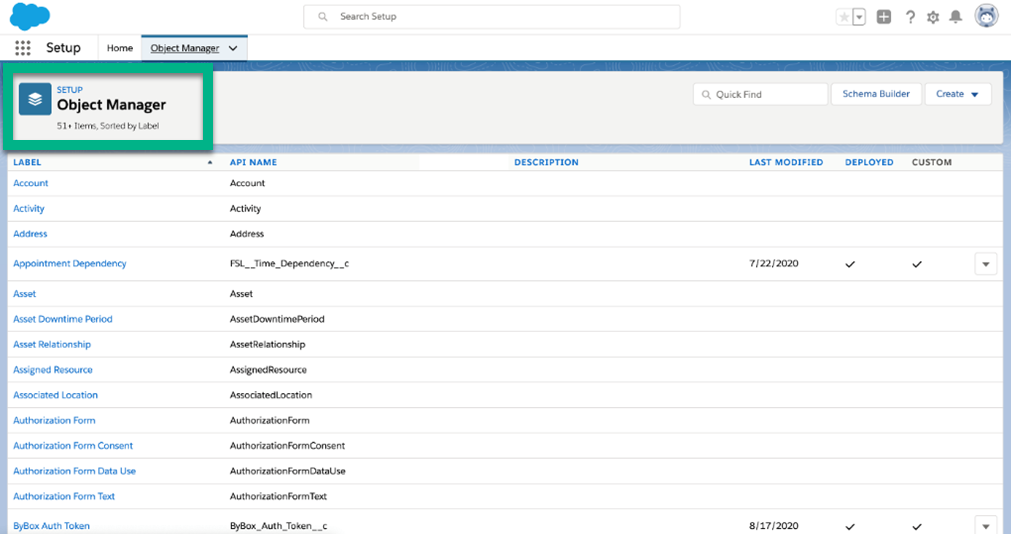
- Select Object Manager to view all objects. Search for a particular module within the Quick Find section
Configure Location Module
To add the fields to Location layout:
- Select Location > Page Layouts > Location.
- Add the following from Fields section by dragging it and placing it under Information
- Identifier
- Add the following from Related Lists section by dragging it and placing it under Related:
- Product Items
- ByBox General Access Assignment
- Select Save and then Yes to accept the changes.
Configure Product Module
To add the fields to Product layout:
- Select on Product > Page Layouts > Product Layout.
- Add the following from Fields section by dragging it and placing it under Information.
- Enable For ByBox
- Select Save and then Yes to accept the changes
Configure Product Request Module
To add the fields to Product Request layout:
- Select Product Request > Page Layouts > Product Request Layout
- Add the following from Fields section by dragging it and placing it under Information:
- Work Order Line Item
- Click on Save and then click on Yes to accept the changes.
Configure Work Order Module
To add the fields to Work Order layout:
- Select Work Order > Page Layouts > Work Order Layout
- Add the following from Related Lists section by dragging and placing it under Related Lists:
- Product Requests
- Product Request Line Items
- Select Save and then Yes to accept the changes.
Configure User Module
- Search for User in the Quick Find
- Click on User > Page Layouts > User Layout.
- Add the following from Fields section by dragging it and placing it under Additional Information on the Layout:
- ByBox
- Click on Save and then click on Yes to accept the changes.
Configure Map
- Go to Work Orders.
- Create or Select an existing Work Order > Related > Select item from the Product Request Line Item.
- On this page Go to SetUp > Edit Page.
Under Standard category on the left panel, drag the Visualforce component and place it wherever you want in the layout.
Click on the Visualforce component, and edit the fields available on the right side of the panel.
Uncheck showLabel.
Change Visualforce Page Name to BoxLocation.
Change the height to 450 pixels or more for better visibility.
Click on Save.
Add Records
- Go to Location > All Locations.
The location records will be fetched again with the help of API. - Go to Products > Create New Product.
Creating product in Salesforce reflects in ByBox. - Go to Location > Related > Products > Create New Product.
- Go to ByBox > Locations > Inventory > Contents > Track-in.
- Go to SalesForce > Work Order > Create Product Line and Product Request Line Item.
- Go to SalesForce > Assign Product Line Item to Location.
- Go to ByBox > Inventory Orders >Work order is mapped and product item is requested.
- Go to Salesforce > Create Service Resource.
- Go to Salesforce > Create Service Appointment > Related > Assign Service Resource created.
- Go to ByBox > Inventory > Orders > Product
The product is assigned to Engineer and the Engineer can track the package and deliver.
Uninstall the ByBox package
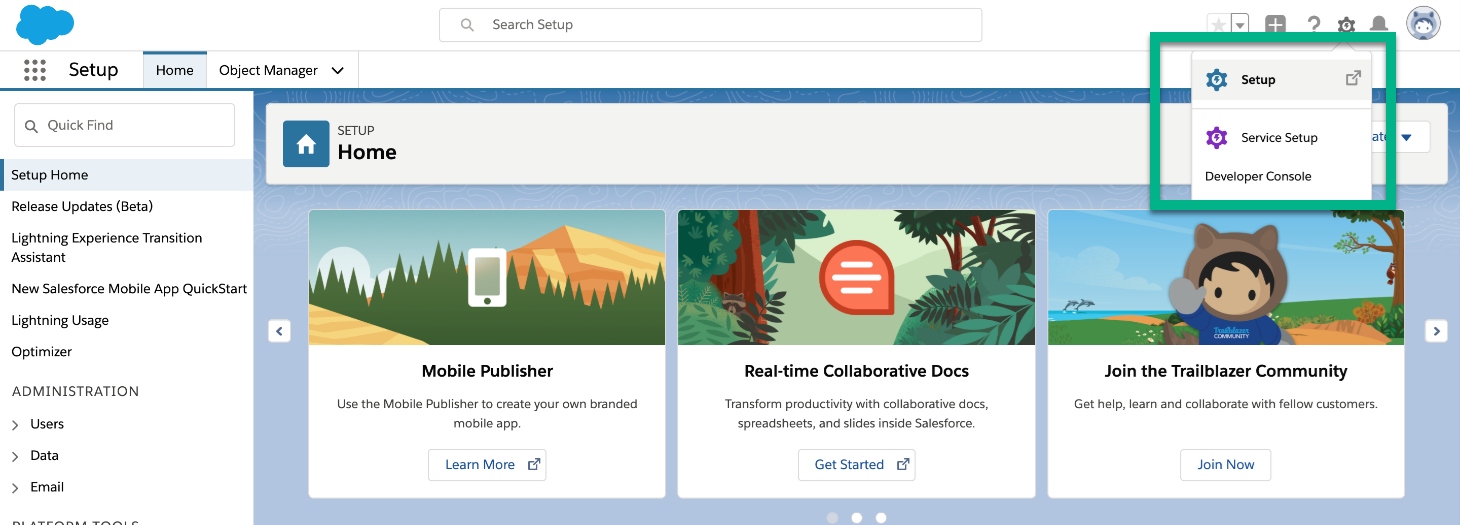
- Select Setup.
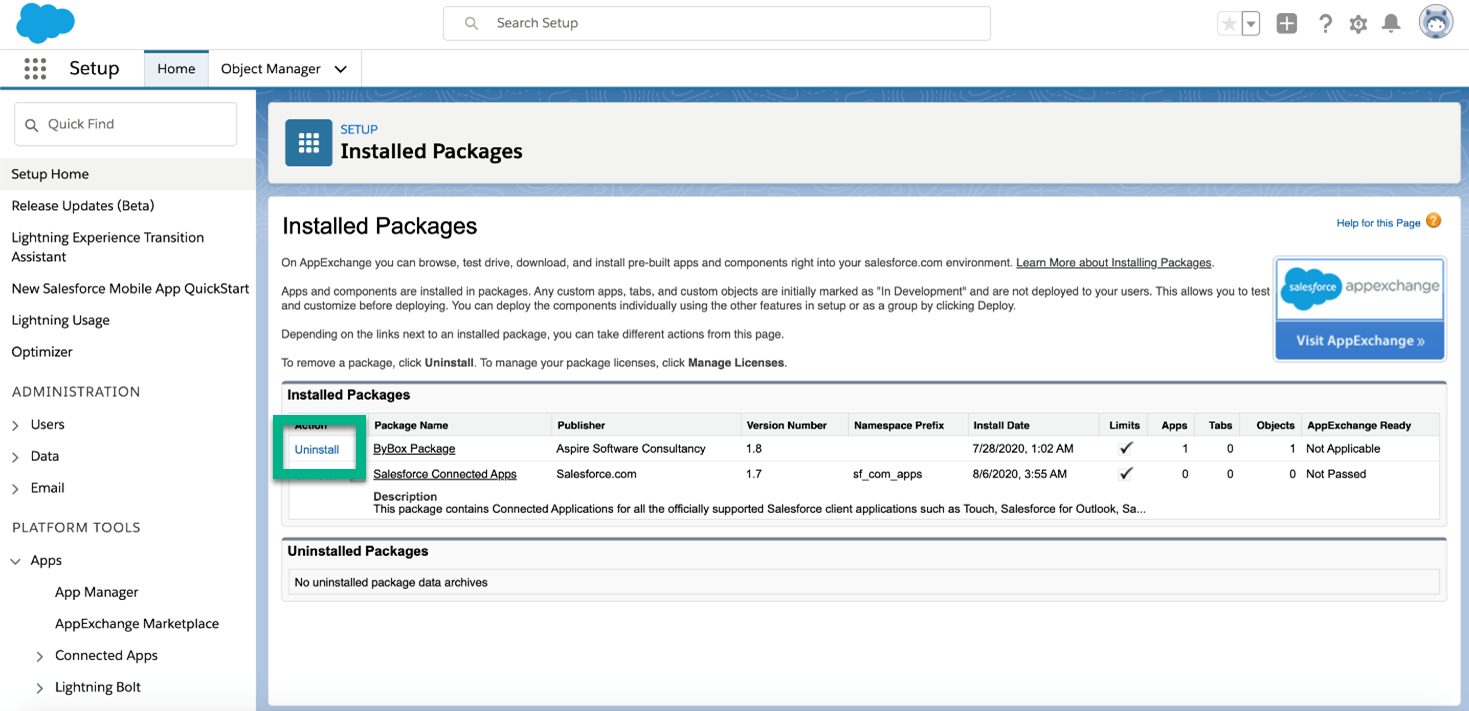
- Search for Installed Package under Quick Find and select it.
- Select Uninstall next to ByBox Package.
- A list of components which will be uninstalled is displayed
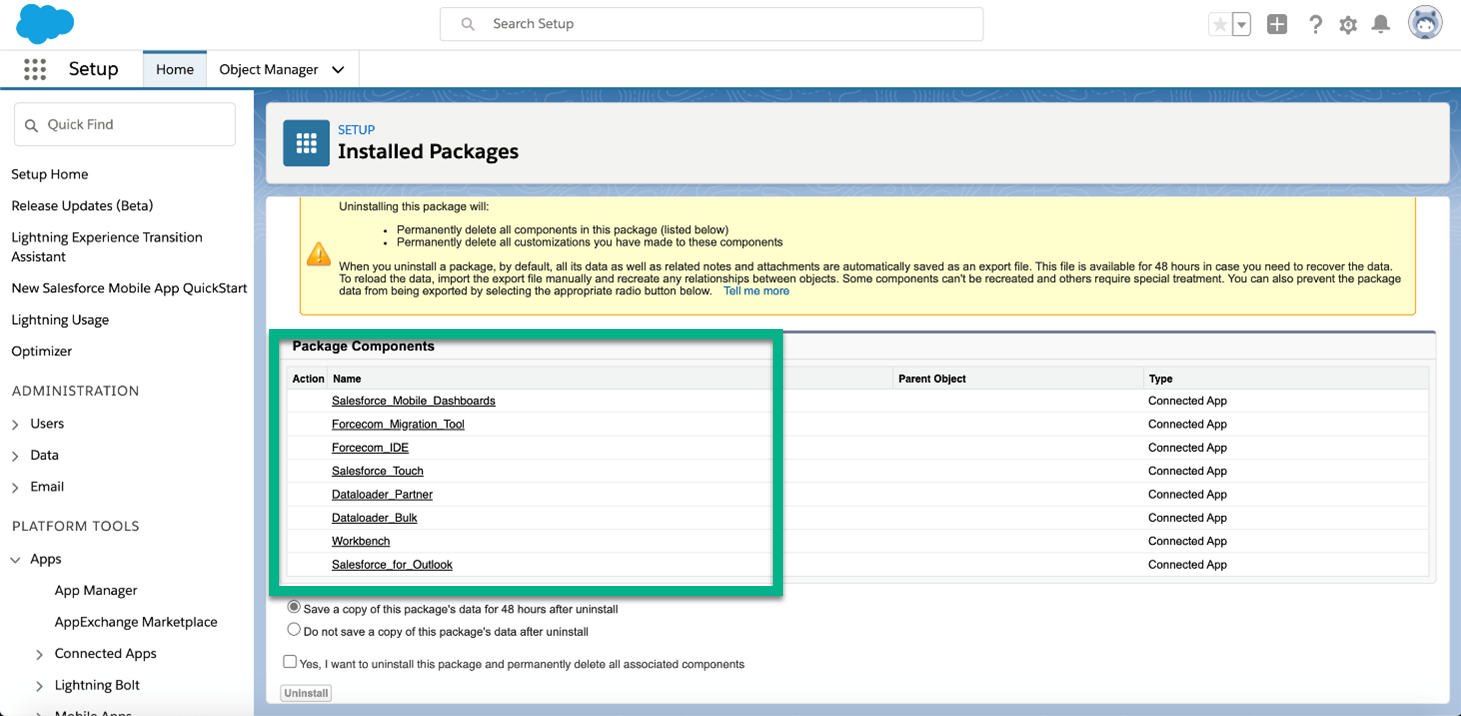
- Select the radio button Do not save a copy of the packages data after uninstall.
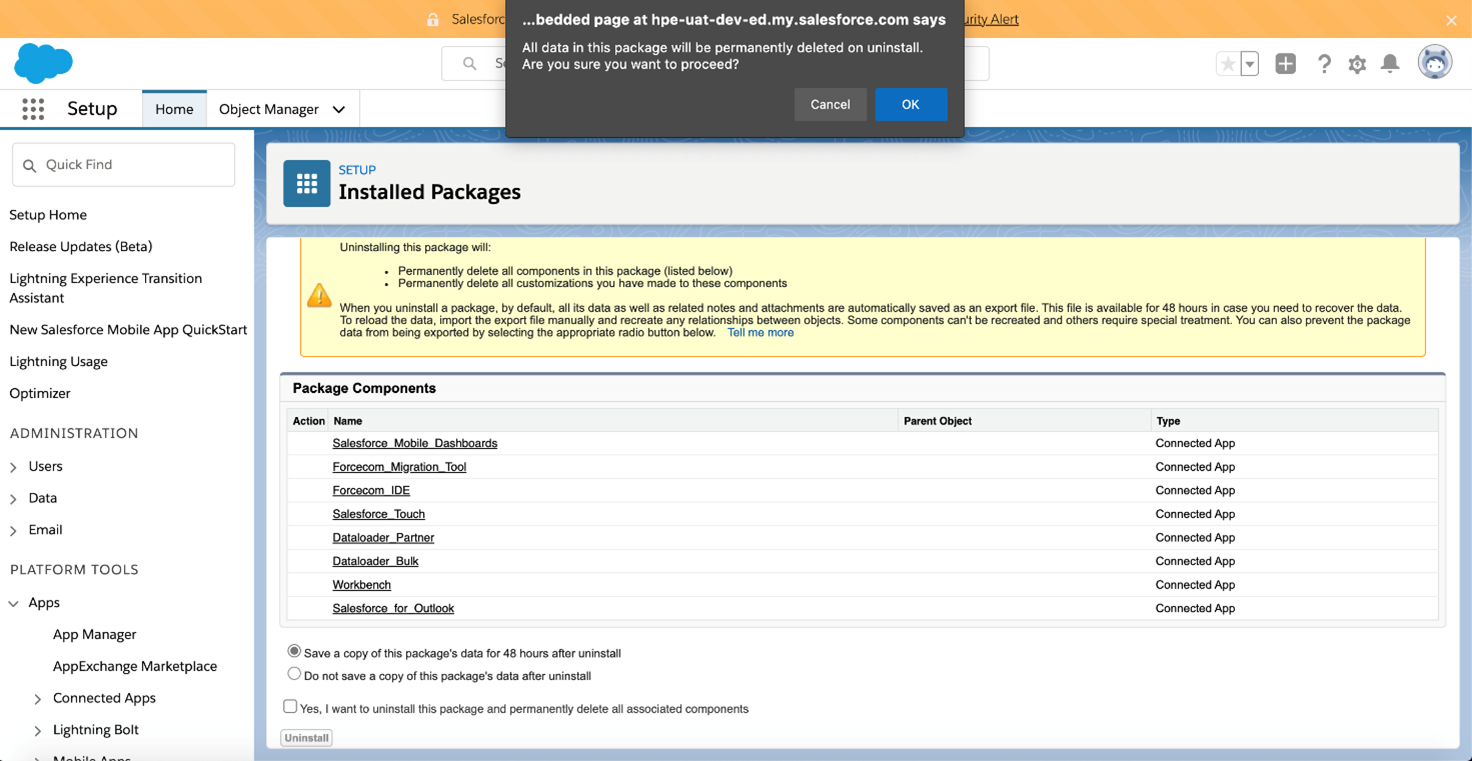
- Click OK.
- Select check box to accept package uninstallation.
- Click Uninstall.
9. The package is uninstalled and displayed under Uninstalled Packages.