Install the Zebra printer configuration
The details below are a guide to installing and configuring a Zebra GK420D printer for use with ByBox Despatcher.
Despatcher is a web-based application for printing ByBox shipping labels for distribution through the network. You need to install and configure a Zebra GK420D printer to use Despatcher,
Because both the web page and the print agent are independently linked to ByBox web-servers, the print agent, does not necessarily need to be installed on the same machine that is using the web page to connect to the labels.
Before you begin
Make sure you have the following from ByBox:
- Zebra ZD420 Direct Thermal Label printer – complete with USB lead and roll of labels.
- Customer specific website login.
Make sure you have set up the following:
- An internet enabled Windows PC with Google Chrome installed and 1 spare USB socket.
Note: You must use Chrome to set up this printer. If you do not have Chrome, contact ByBox Customer support for assistance. - 1 spare standard plug socket.
- Either administrator access rights on the PC or someone available on site at the time of installation with the appropriate access to install the required printer drivers.
- An internet enabled Windows PC with Google Chrome installed and 1 spare USB socket.
Install the printer driver
- Connect the Zebra power supply to a wall socket
- Connect the USB cable from the printer to the PC.
- Load a roll of labels (4" x 5") and switch on power to the printer.
Note: Ensure that the power switch on the rear of the printer is also switched on.
The printer should install the drivers automatically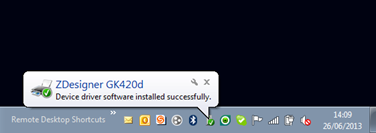

- If the drivers do not install automatically, download the recommended driver ZDesigner v. 8 Driver for Windows here:
https://www.zebra.com/us/en/support-downloads/printers/desktop/zd420d.html#downloadlistitem_abe
Edit printer settings
- Select Start > Settings > Devices > Printers & Scanners.
- Select the Zebra printer usually called ZDesigner GK420d.
- Select Manage.
Note: You should see your printer here. If the printer is not in the list, see InstallPrinterDriver. - Go to the Printer Preferences.
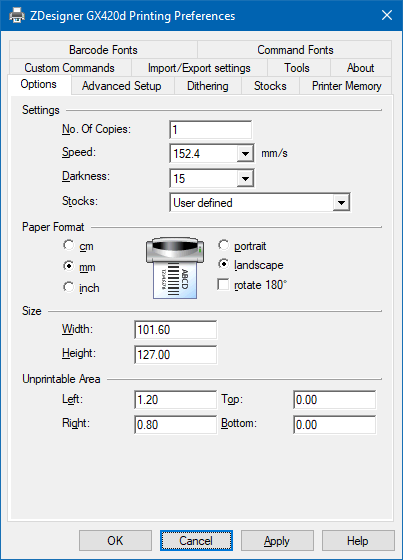
- The Printer Preferences screen appears. Depending on your computer, it looks like either of these two screens.
 or
or 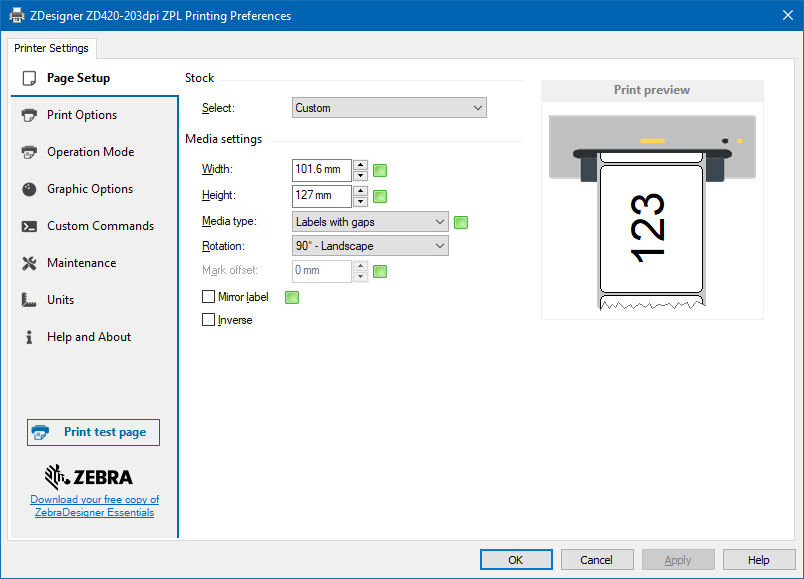
- Update the Paper Format to Landscape (or 90 Landscape).
 or
or 
- Update the width to 101.6mm and the height to 127mm.
 or
or 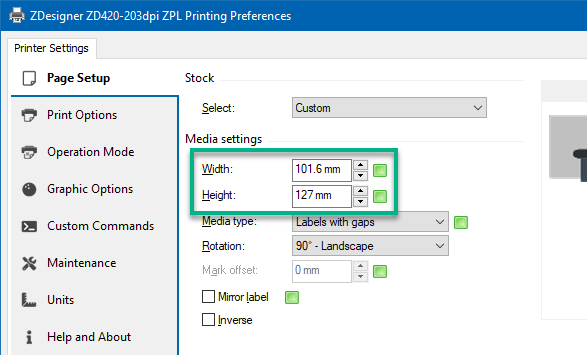
- Select OK.
Your printer preferences have been updated.
Configure your Web Browser Settings for Print to Web labels
Before you begin
- You must have Google Chrome to complete this task. If you do not have access to Google Chrome, contact ByBox Customer Support.
- Open a Google Chrome and login to Despatcher (https://secure.bybox.com/despatcher). If you do not have a username and/or password, contact ByBox Customer Support.
- Create a test label. For more details, see Using Despatcher
Note: The first time you create a label you may receive a warning regarding popups depending on your browser. Select Always Allow popups from secure.bybox.com. - Check the printer field includes the Zebra printer.
- Print the label to the Zebra printer.
- From the print screen change all settings to the same as shown here
Note: You may need to click the More Settings option.
- Click Print.